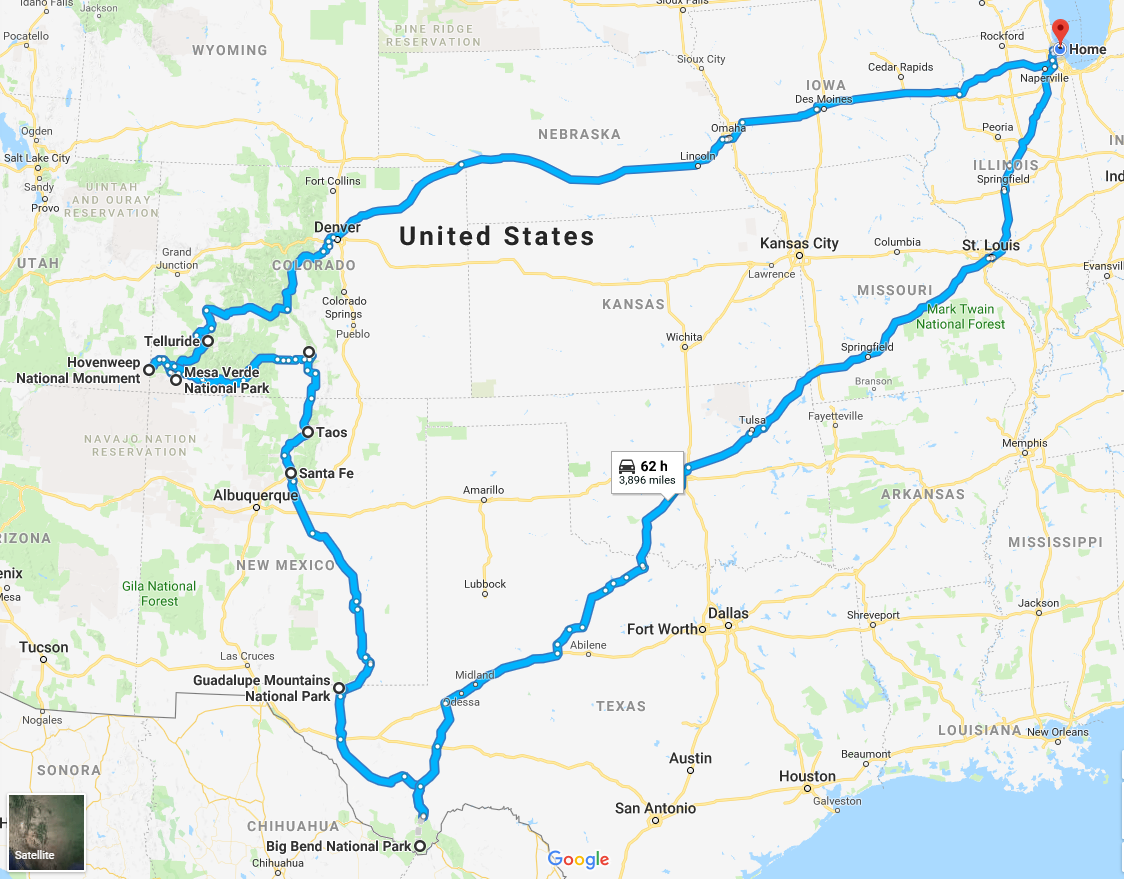
The last two summers we’ve done road trips out west, and this year we hooked up the new trailer and went for round three. Christi wanted to visit Mesa Verde and New Mexico, and I wanted to go four wheeling with the 200 LCDC group again, so from there we started our planning. Over the last year we decided we’d use our summer trips to try to hit all the US National Parks, which ultimately led us to add Big Bend to the end of our trip.
The LCDC this year was exploring the San Juan National Forest and picked Telluride, CO as the home base.
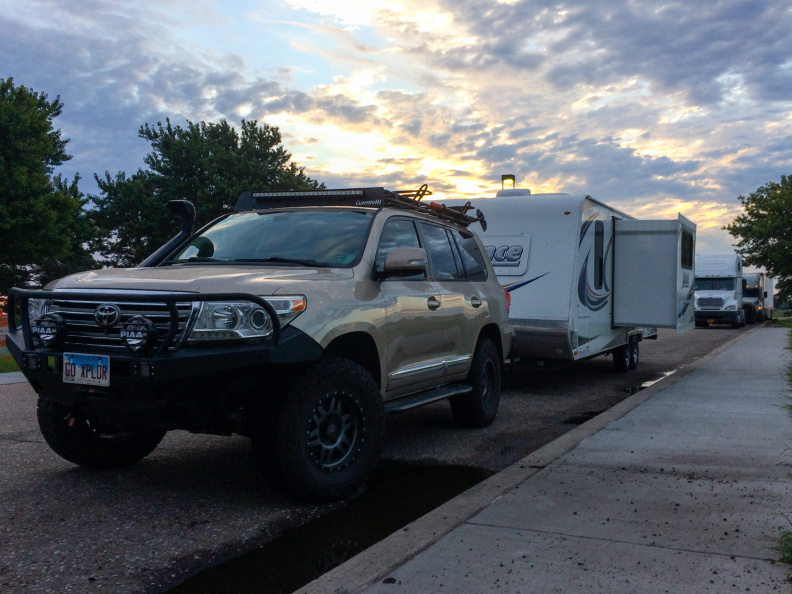
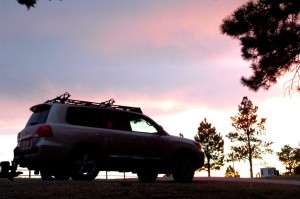
Boondocking at a rest stop in Nebraska
Days 1 to 3
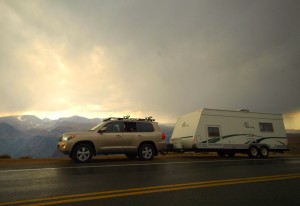
We left Wednesday afternoon and made it to Cayton Campground about 20 minutes south of Telluride on Thursday evening around dinner time, only stopping overnight at a rest stop in Nebraska.
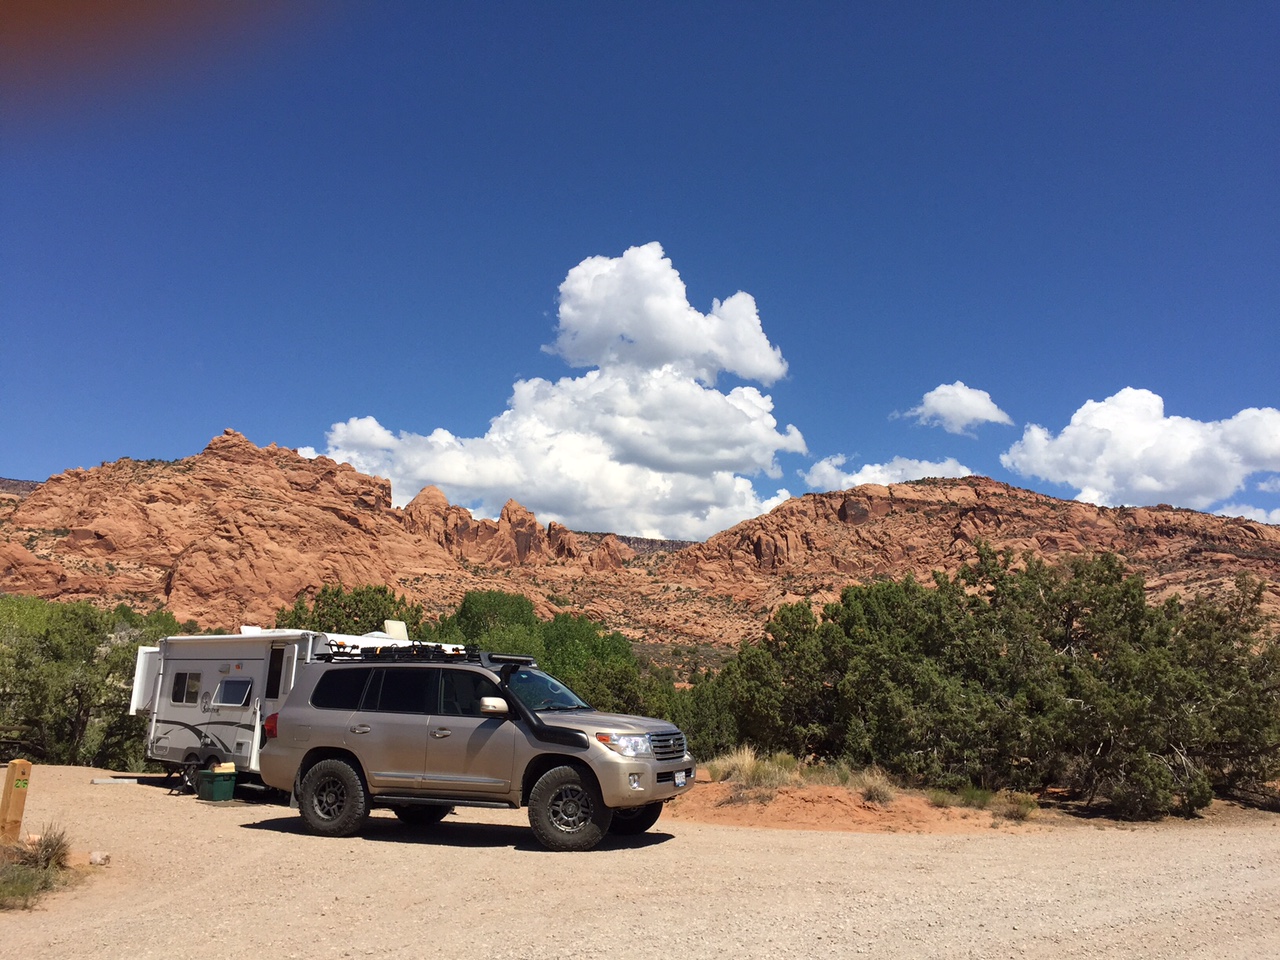
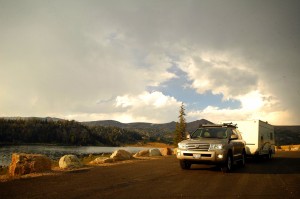
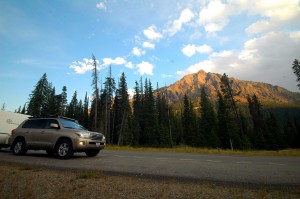
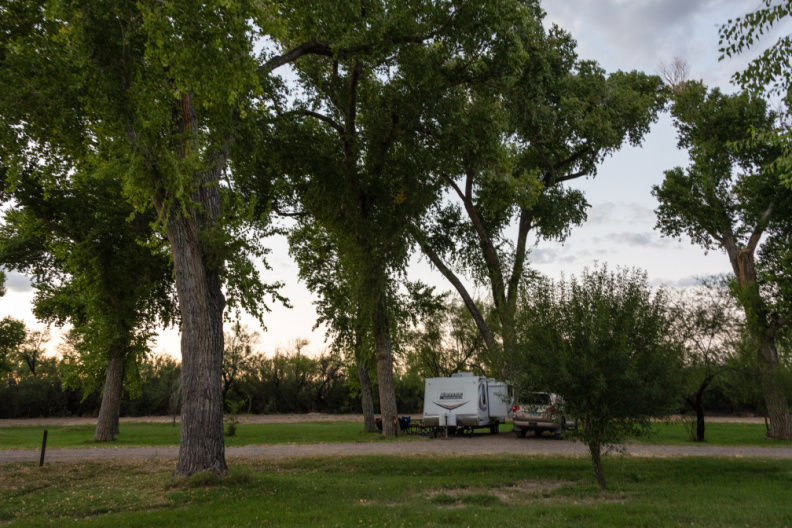
Cayton Campground
The following morning we met part of the group in Telluride, and decided to set out on the Alpine Loop. We gassed up and hit the road for Ouray, CO where the trailhead for Mineral Creek starts.
The summit of Engineer Pass
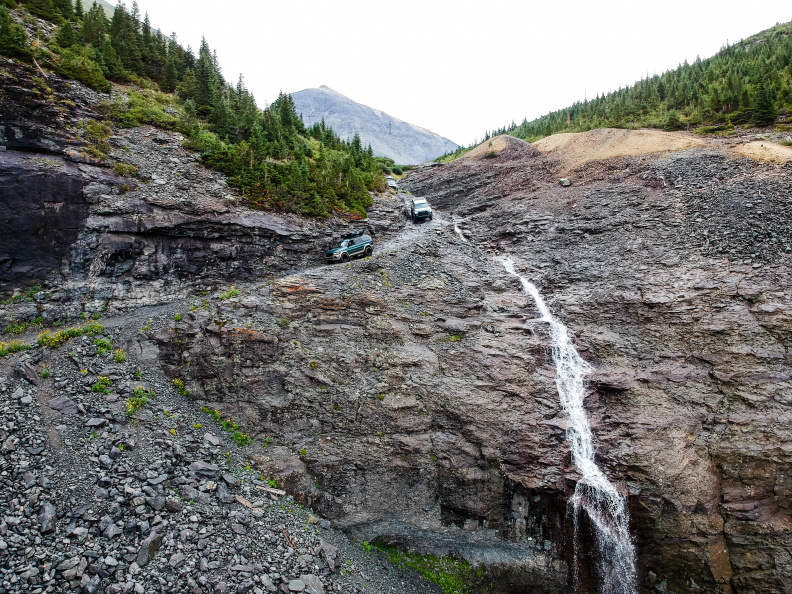
We stopped to air down at the trailhead, then took off into the rocks and shelf roads on the trail up to Engineer Pass. Half way up Mineral Creek the truck in front of us took a bad line, tried to correct, and ended up with two wheels hanging precariously off the road. I picked up the radio and relayed that he was “looking a little tippy and ought to stop right now.” (The next evening I was told I was apparently the king of understatement). We assessed the situation and ultimately determined that we needed to winch from the front and rear to get him onto stable ground safely. I got the change to test out my new winch, and about 30 minutes later we were back on the trail.
Animas Forks ghost town
The rest of the day was uneventful. The Alpine Loop is beautiful, and we had an opportunity to stop at the top of Engineer Pass as well as a few ghost towns along the way to Lake City and across Cinnamon Pass back to Silverton.
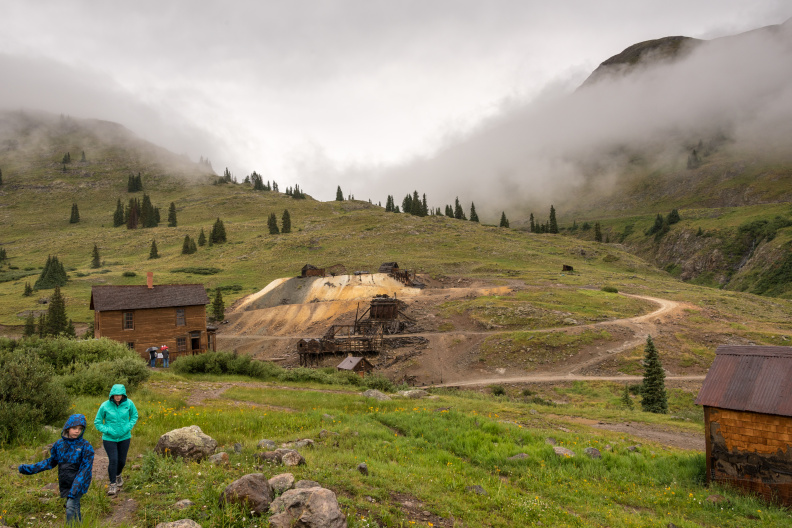
Hanging out at an abandoned mining site
By the time we were headed back to town it was almost 5pm, so we stopped at a brew pub in Ouray for dinner, then headed back to the campsite to do it again the next day.
Day 4
Nate and Christi hike the road at Cayton Campground
On Saturday, Christi was tired of sitting in the car for three days, so I took Anna and Gabe and we headed back to Telluride for day 2 of the LCDC.
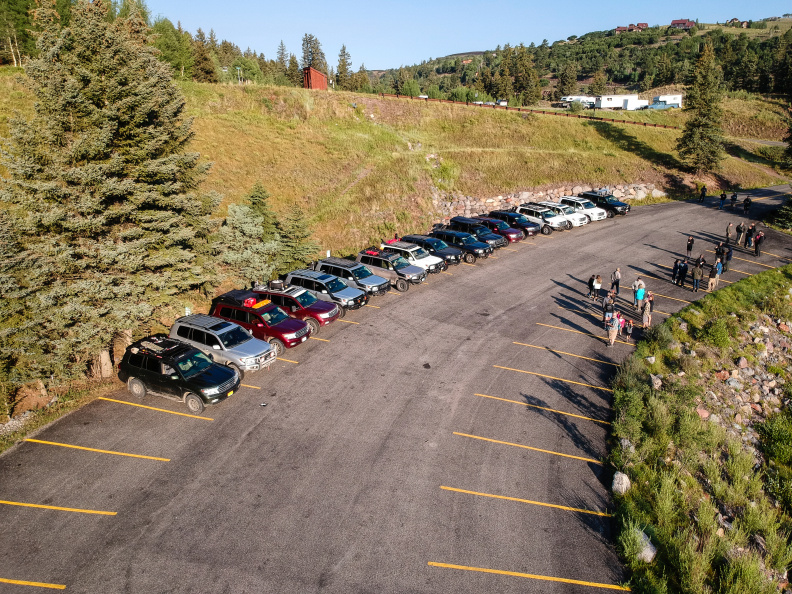
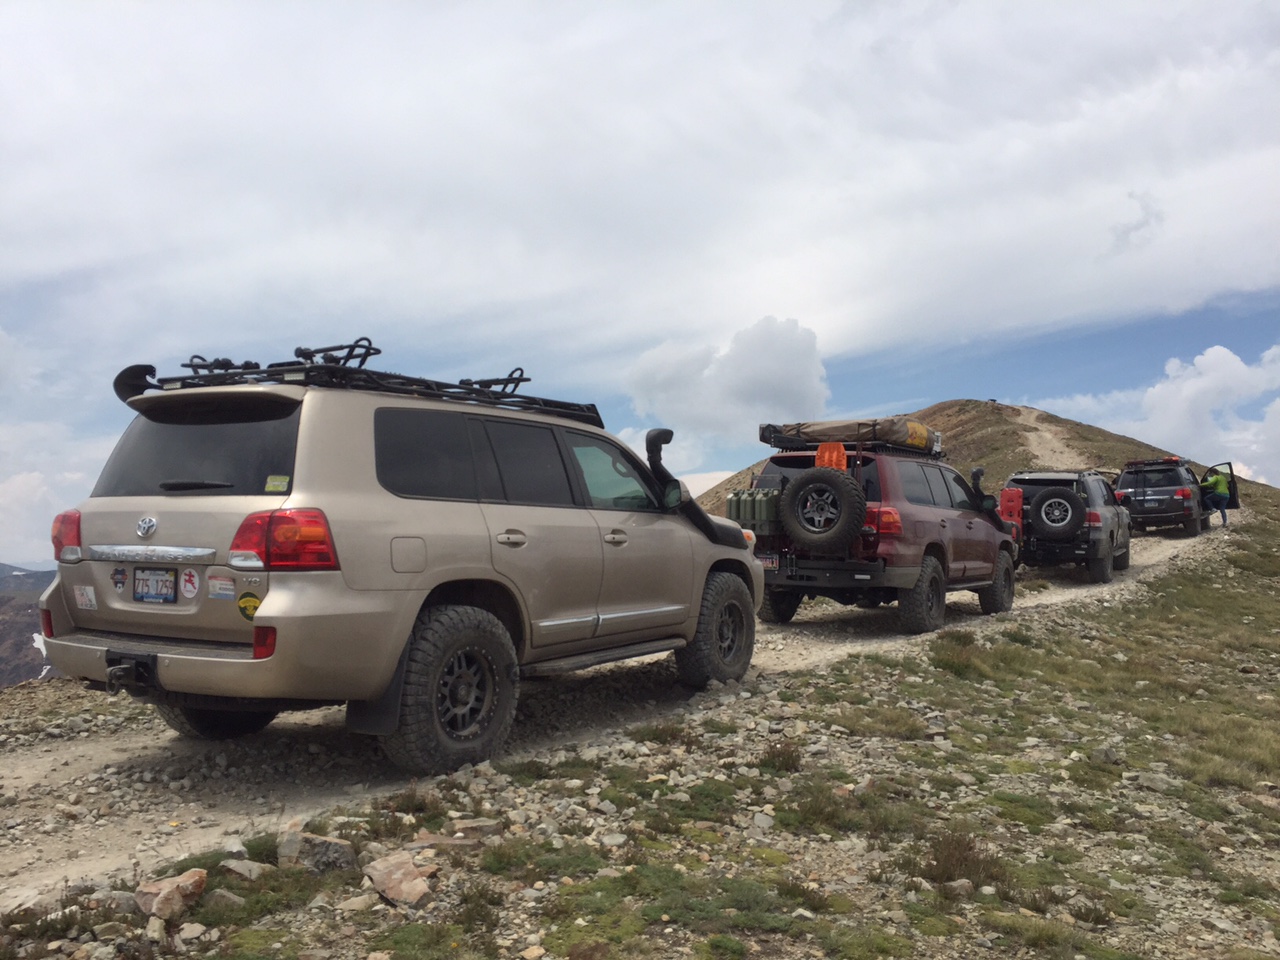
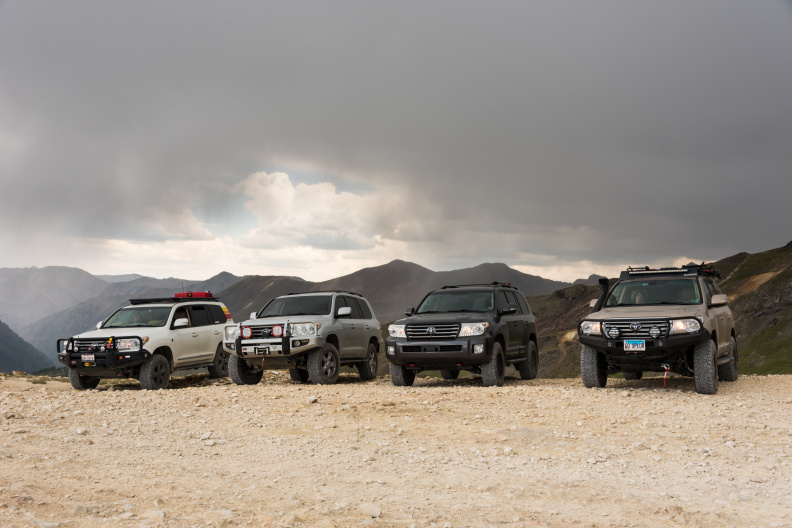
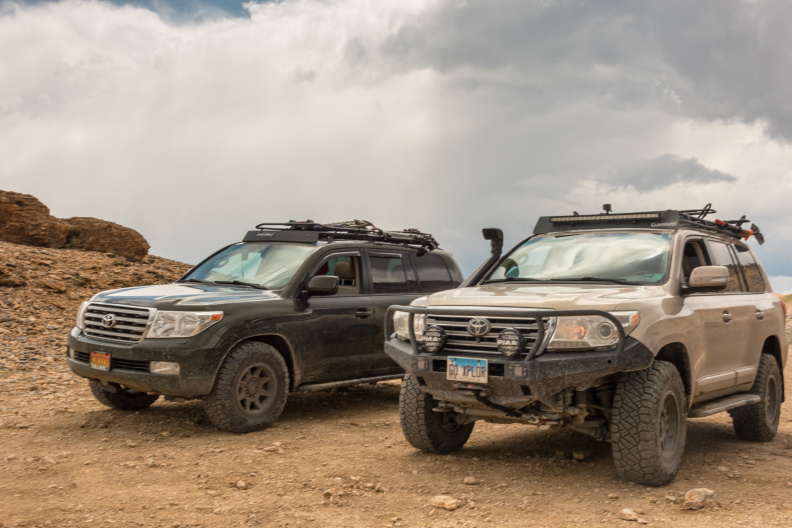
Quite likely the largest gathering of 200-series Land Cruisers in the US
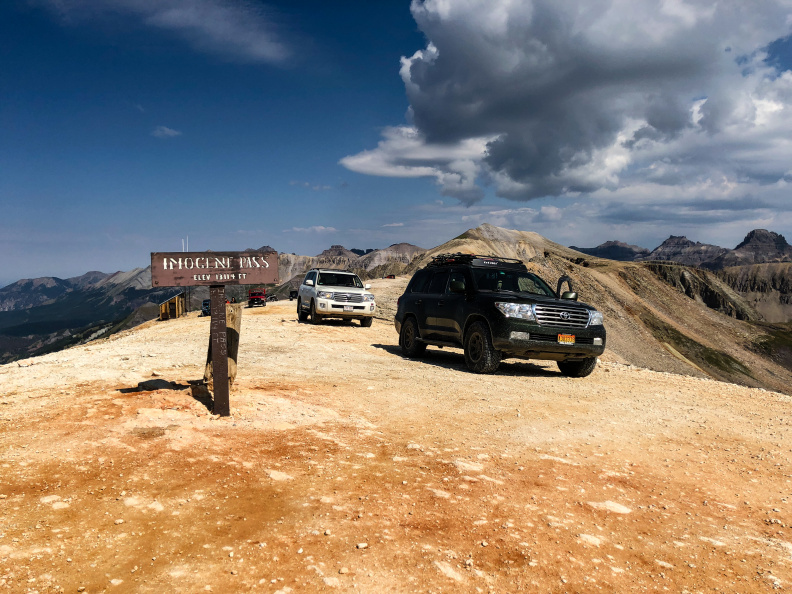
Lazerturbo91 and m1911 atop Imogene Pass at 13,114′
We met up in the parking lot and found a small group to do Imogene Pass and at least one person willing to do Black Bear Pass with us.
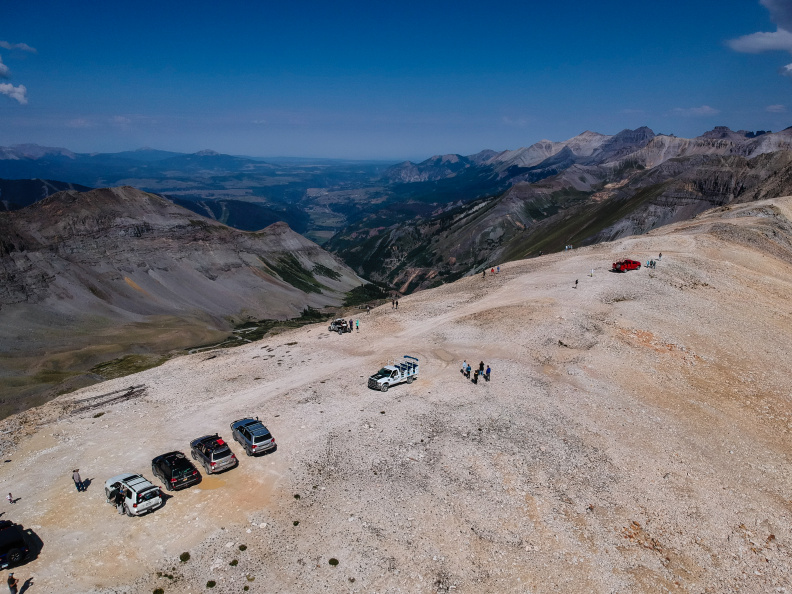
Drone shot from the top of Imogene Pass
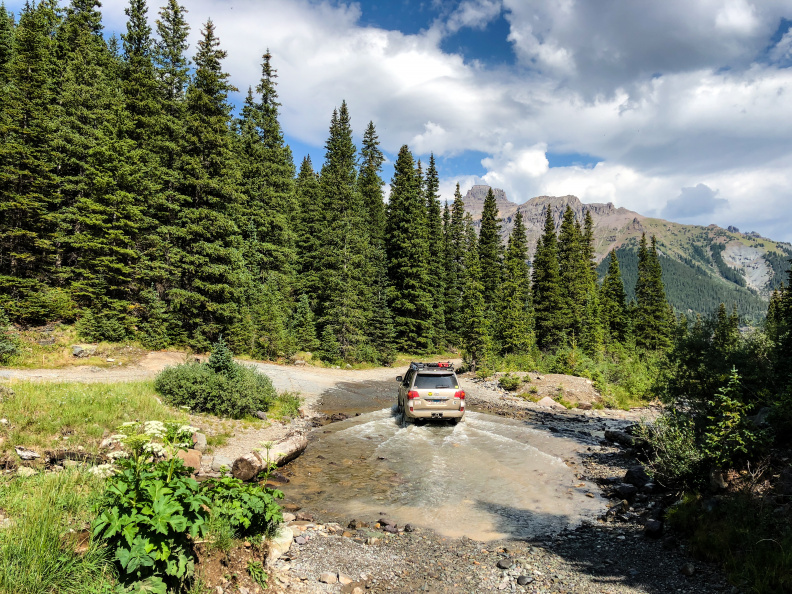
Water crossing on Imogene
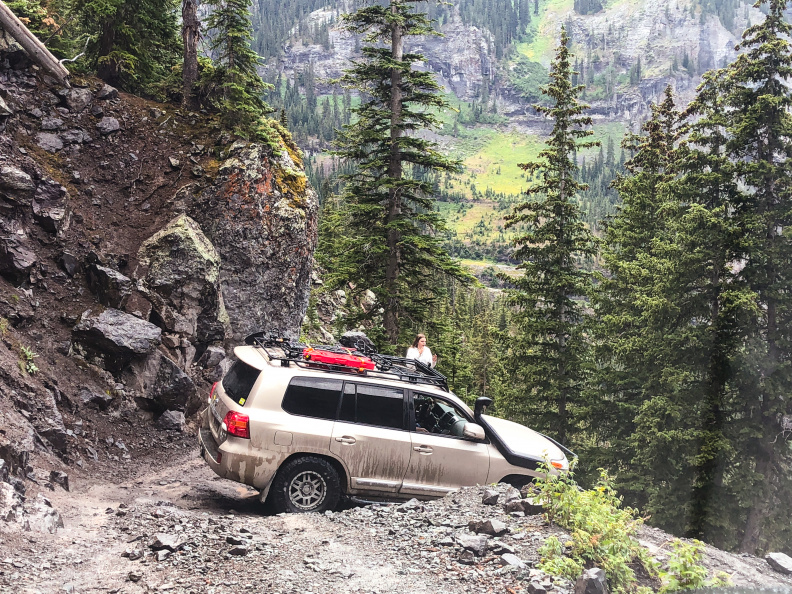
Most people (us included) travel Imogene from Telluride to Ouray (west to east), ascending the mining road up and over the mountain and then descending into the forest. It was a beautiful trip and aside from dragging the spare tire in a few spots the cruiser handled it with aplomb.
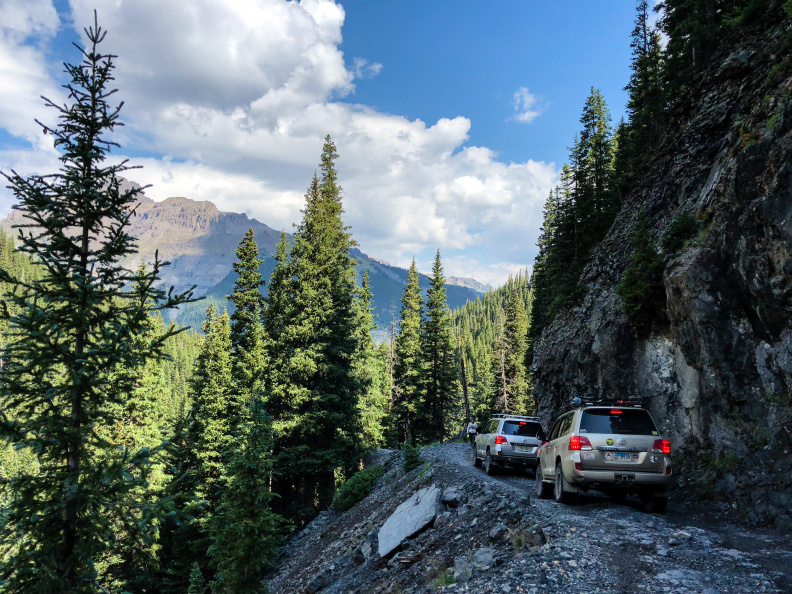
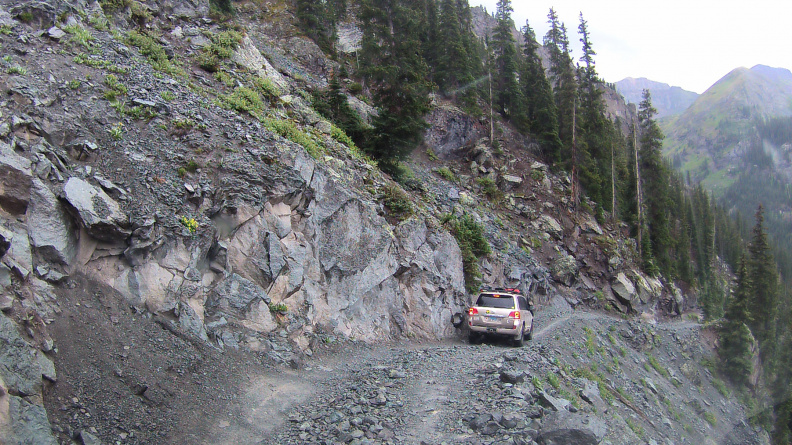
Shelf road on Imogene PAss (it’s narrower than it looks)
Flexin’ the suspension on Imogene
A huge thanks to Jeff from Baltimore (lazerturbo91 on ih8mud) who followed me on Imogene and Black Bear and took the photos of my truck – all the photos from day 2 shown here are courtesy of him. Thanks to CodyAustin as well, both for leading us up and over Imogene safely as well as for setting up this year’s LCDC.
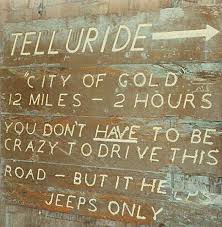
“You don’t have to be crazy to drive this road – but it helps!”
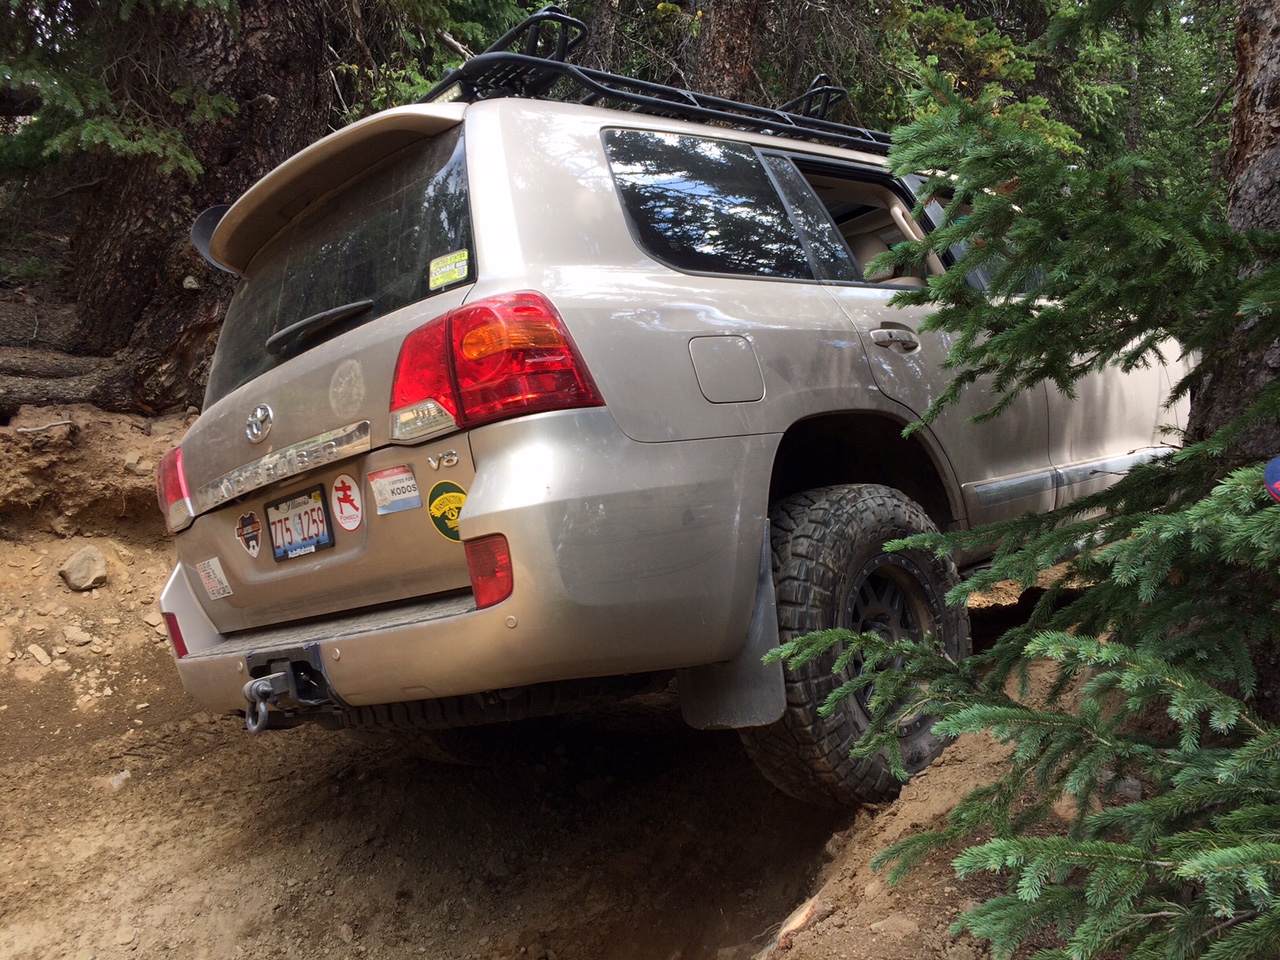
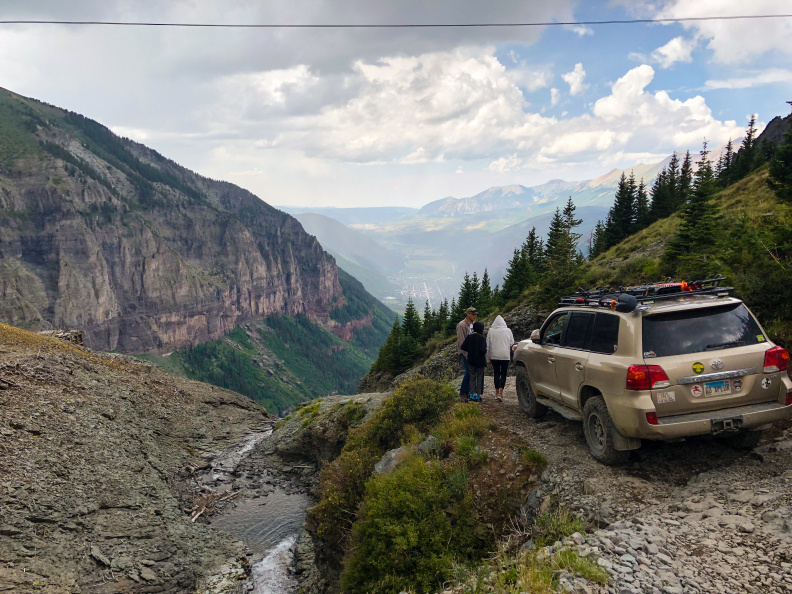
To get back to Telluride we had two options. Cody and his family aired up and took the highway, but Jeff and I decided to brave the shorter but more treacherous Black Bear Pass. Black bear is known for its shelf road, steep drops several hundred feet tall, and extremely tight off-camber switchbacks. About once a year someone misjudges a ledge and rolls off; the week before we arrived someone rolled their FJ Cruiser (thankfully nobody was hurt). This would be not only my first time on Black Bear, but also my first time as a trail lead.
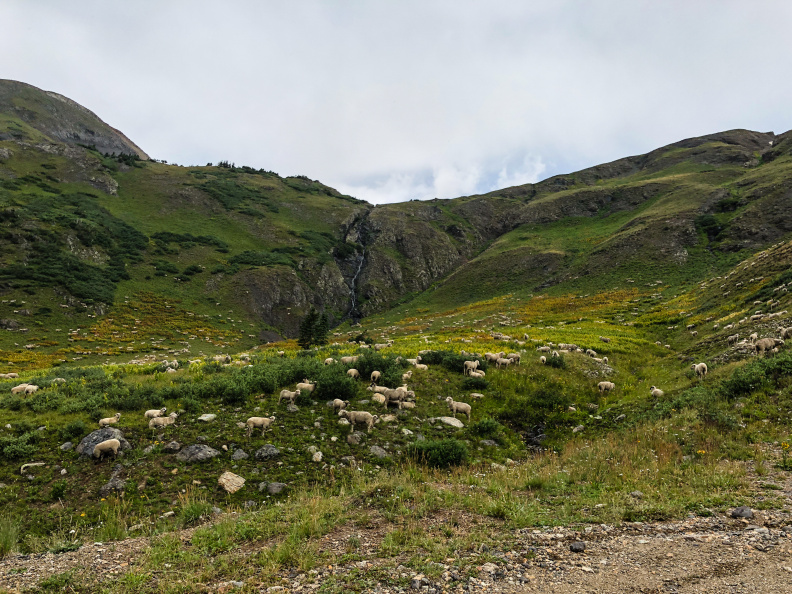
Sheep crossing
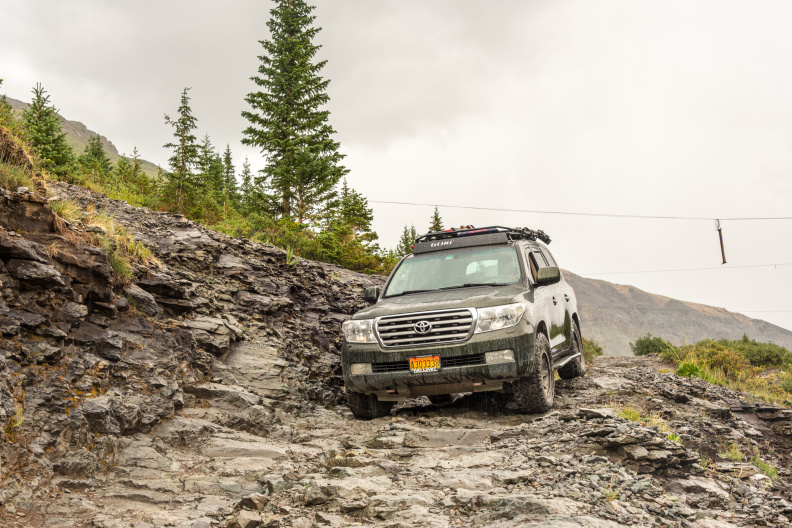
Just as we got to the start of the trail around 12:30pm the rain started. We decided to brave the summit and hope the weather would clear. The trip up was straight-forward dirt and rocks with rain on and off.
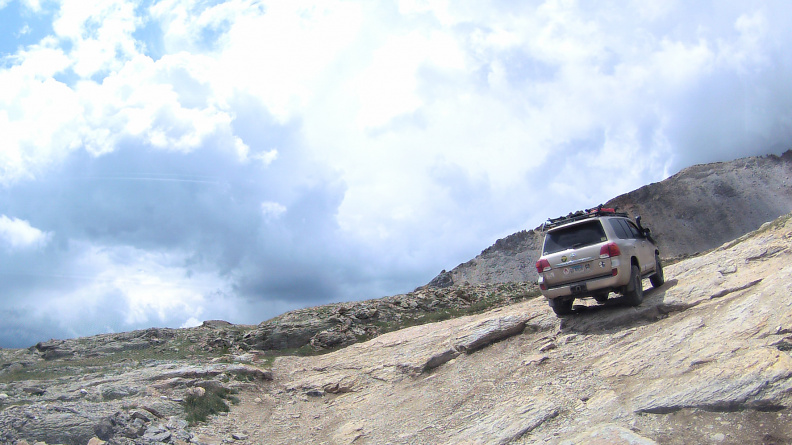
Steeper, rockier part of the ascent
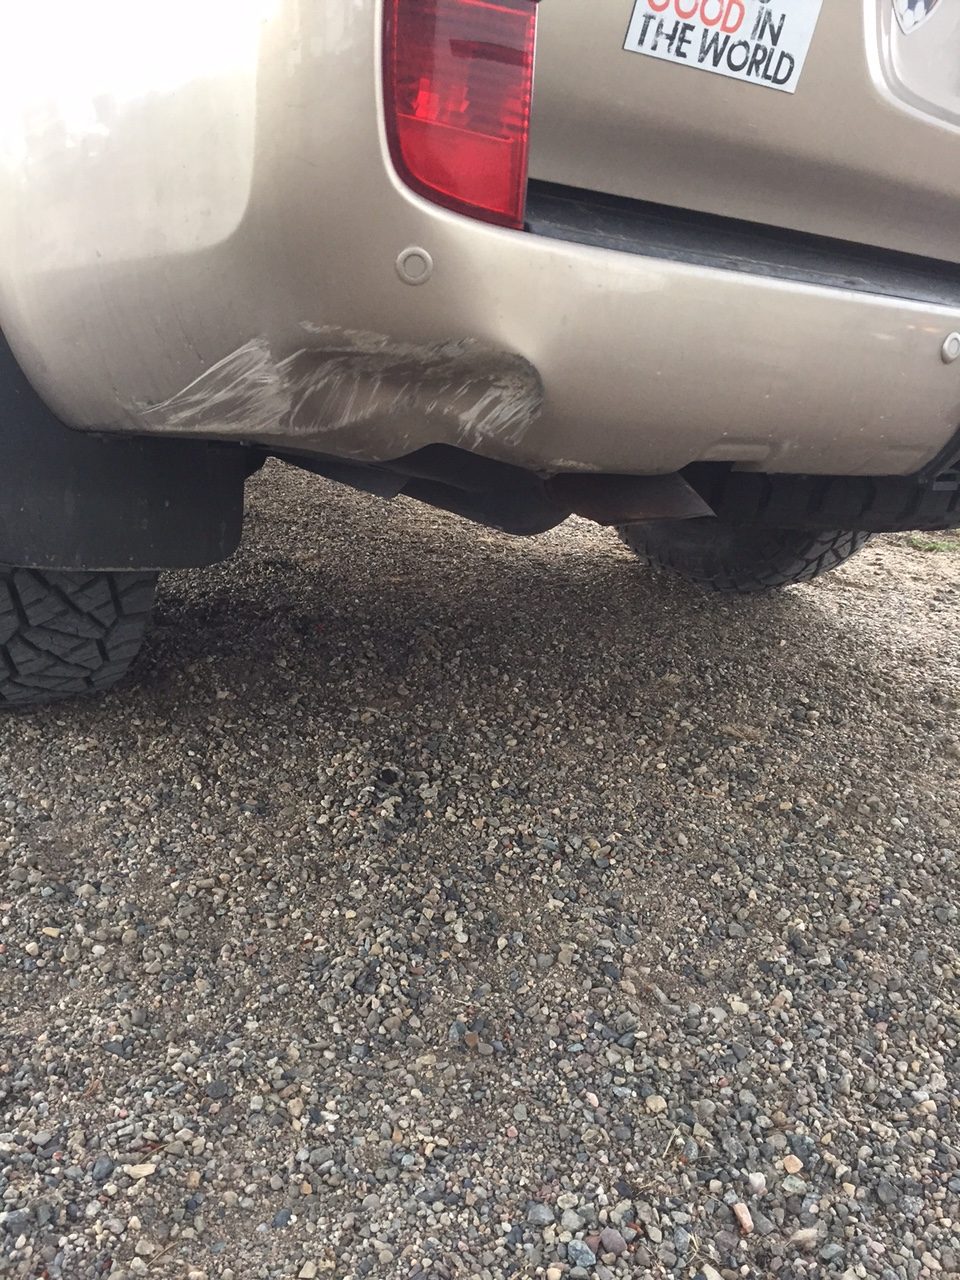
Our trucks handled the trail fine, though more than once I found myself scraping the spare tire or front bumper and radioed Jeff to take a different line than I had run. Although his plastic bumpers took a few hits his mostly stock truck did quite well.
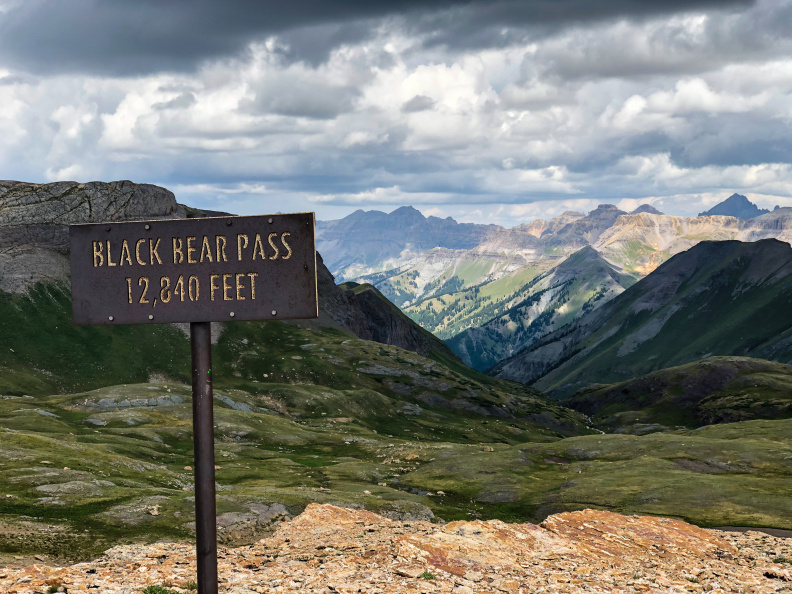
Summit
We reached the summit just after 1pm and stretched our legs before the descent. The rain had temporarily stopped, but the wind had picked up and the clouds were rolling in quickly.
At the summit
The initial descent went quick though the narrow shelf road was harrowing. We reached the most difficult part known as “the steps” and got out to walk the trail to see what we were up against. I would be going first, and with limited visibility inside the truck I asked Anna to spot me and Jeff to assist her.
Narrow ledge at the start of the steps. Maybe a spotter would be a good idea…
The trail was steep, off camber, with a jagged rock wall on the passenger side ready to dig into the body panels and a steep drop off on the driver’s side. As Anna and Jeff started directing me down the steepest part, the rain and hail started.
Jeff descending the steps
The truck slipped on the wet rock in a few spots, sliding forward more than I had intended. Thankfully the two of them pointed me through the hardest parts quickly, and the rain slowed as we finished the first turn.
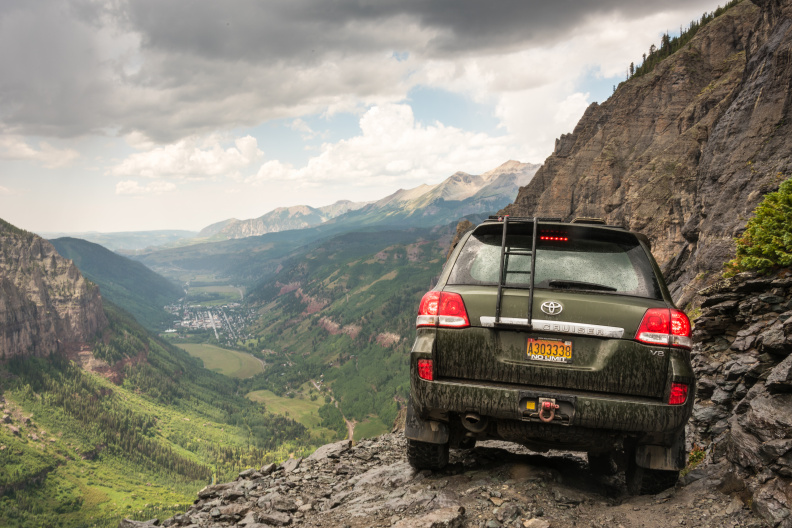
Jeff on the first switchback. Telluride is in the distance
Jeff walked back to his truck and I got out to spot him on the way down next. The rain picked up, and his descent was even more slippery and harrowing than mine.
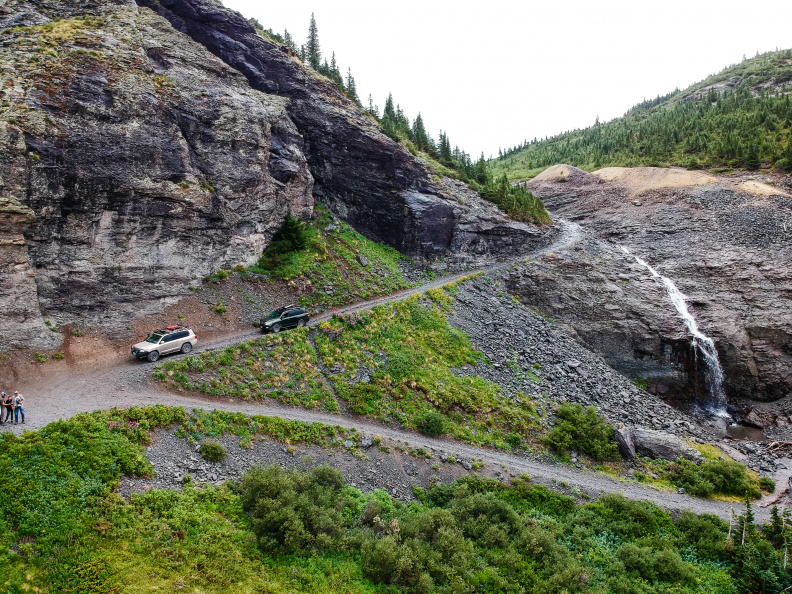
Parked after the switchbacks
Jeff finished his descent and the rain stopped just in time for him to break out his drone for a few shots before a group of four other trucks came down behind us a few minutes later.
Another group behind us
Don’t let your guard down after the steps- the switchbacks are still steep and narrow
We hopped back in our trucks and headed down the mountain and the remaining switchbacks. Although the first few required a 7 point turn, none of them seemed as scary as that first switchback on the steps. The remaining shelf road was a relative breeze, and we were treated to a spectacular view of Bridal Veil Falls from the road below.
Anna spots me on a switchback
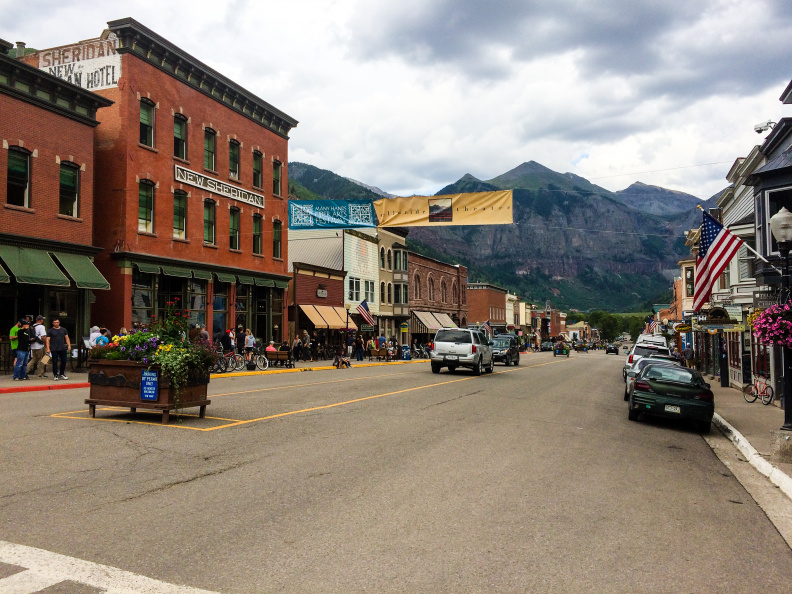
Downtown Telluride, CO
We headed into town and met the rest of the LCDC crew for a BBQ dinner in downtown Telluride, anxious to share our stories of battle over a few local pints. I’d absolutely do Black Bear Pass again, but next time I’m going to watch the weather report and try to avoid doing it in the rain and hail.
Days 5, 6, and 7
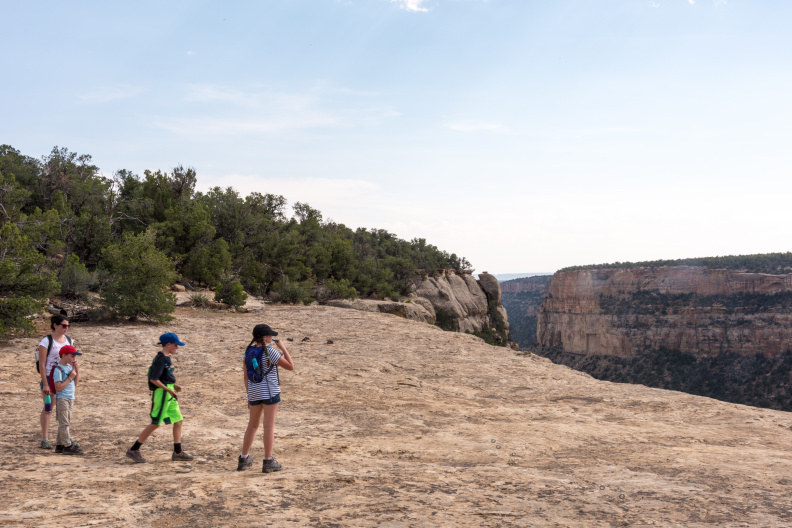
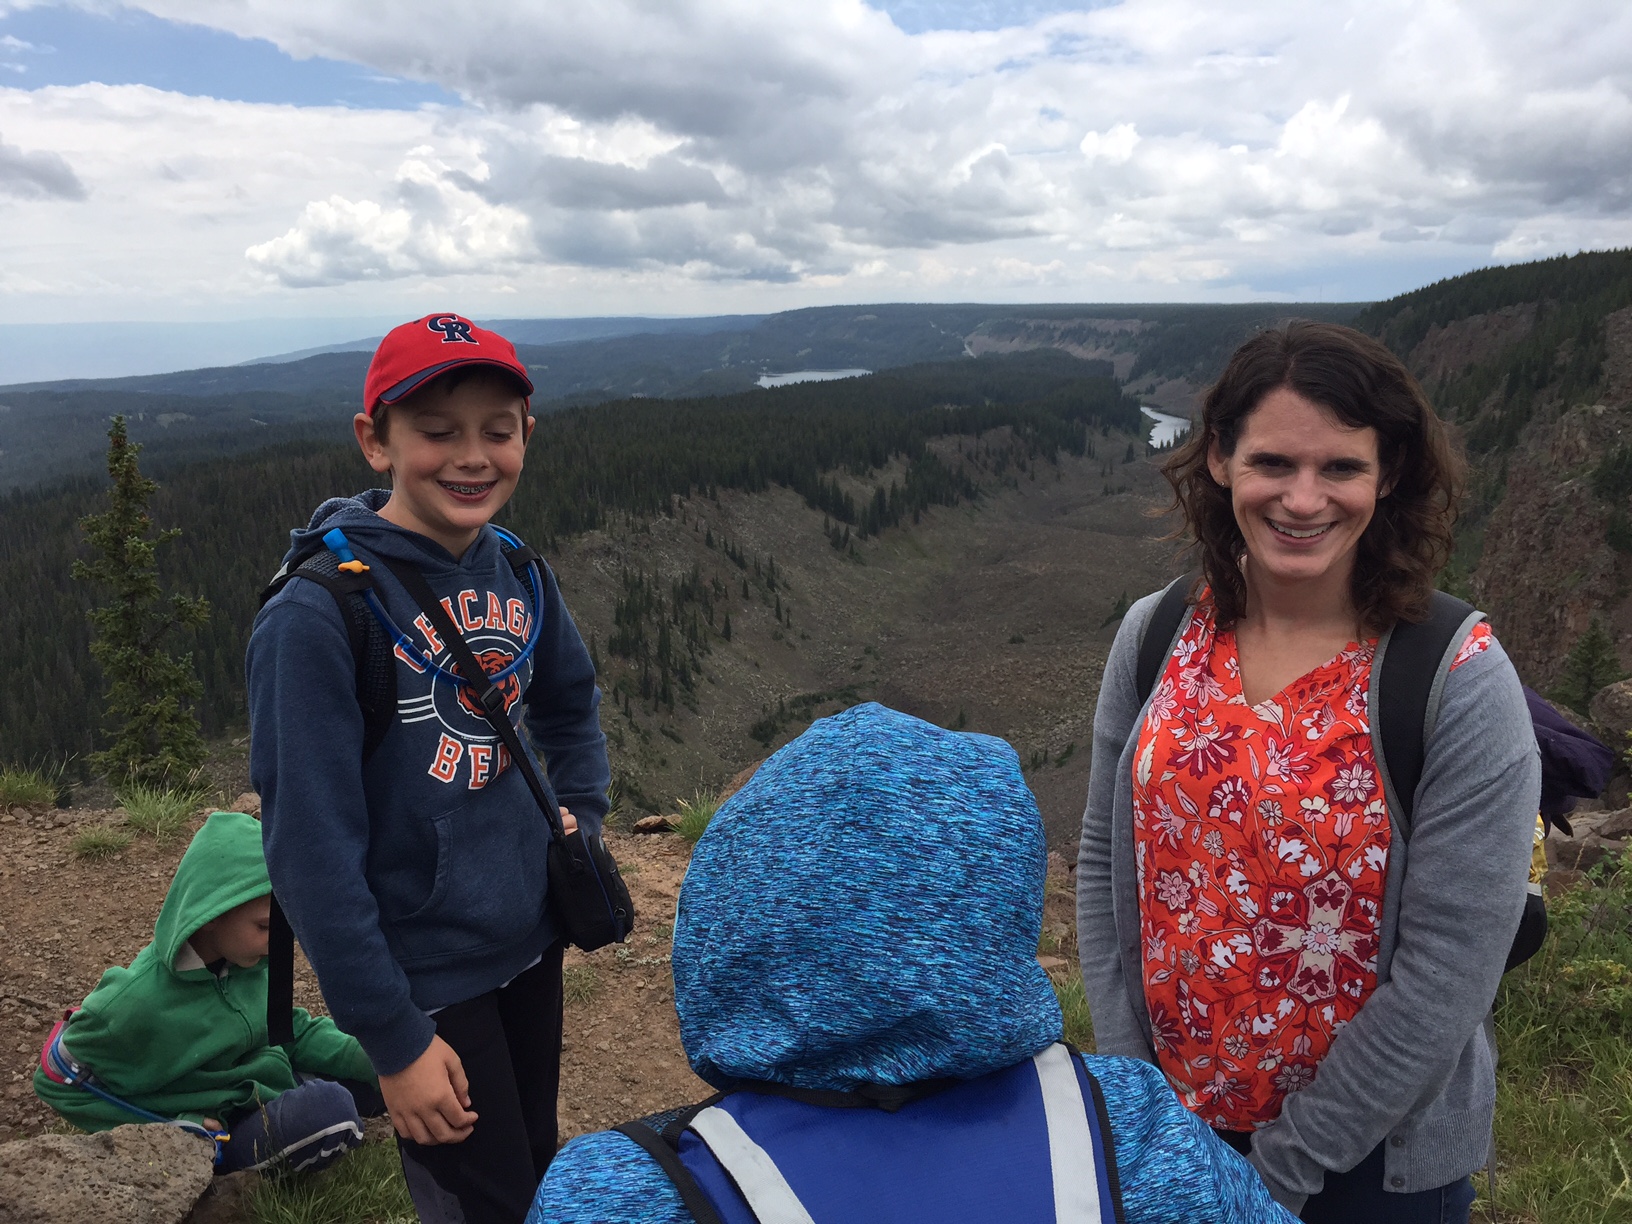
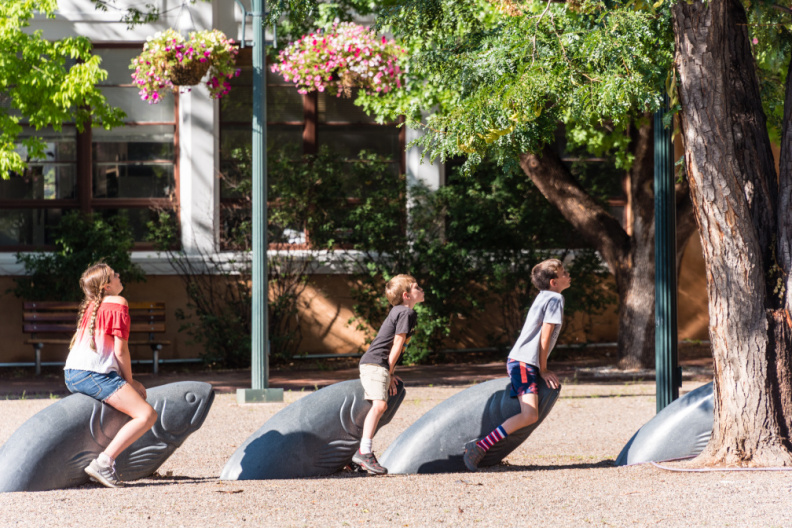
Petroglyph Hike
Sunday we packed up early and headed to Mesa Verde National Park, camping a few miles away at Target Tree Campground.
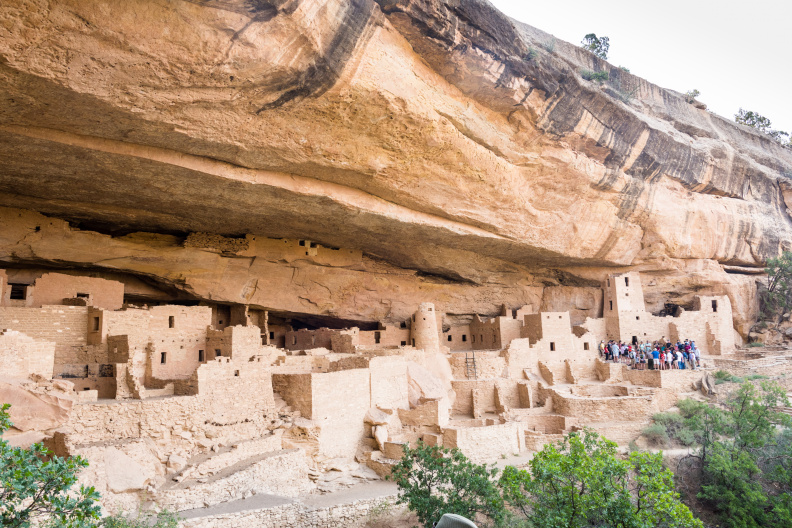
Cliff Palace, Mesa Verde
Pro Tip: For anyone planning to camp there, be warned that the GPS coordinates on the NPS website are off by about 30 miles. The correct location in N37°20’26”, W108°11’16”. We stopped at Mesa Verde along the way and followed a rocky ~2.4 mile hike to a wall of petroglyphs, returning via the flatter mesa, then continued on to the campground.

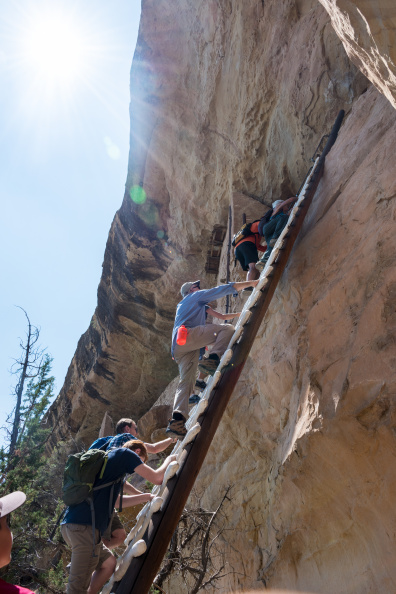
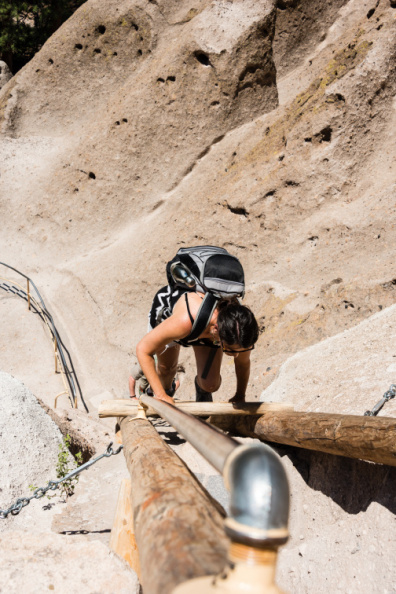
Don’t look down!
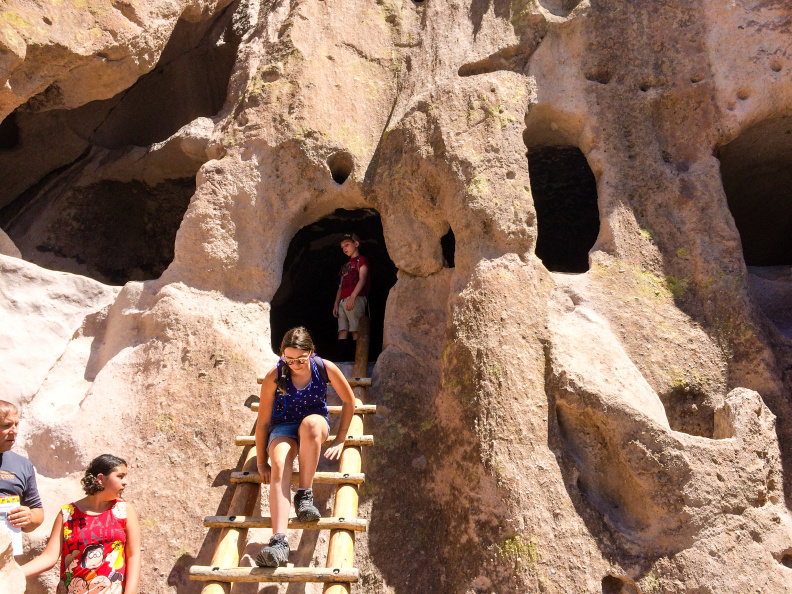
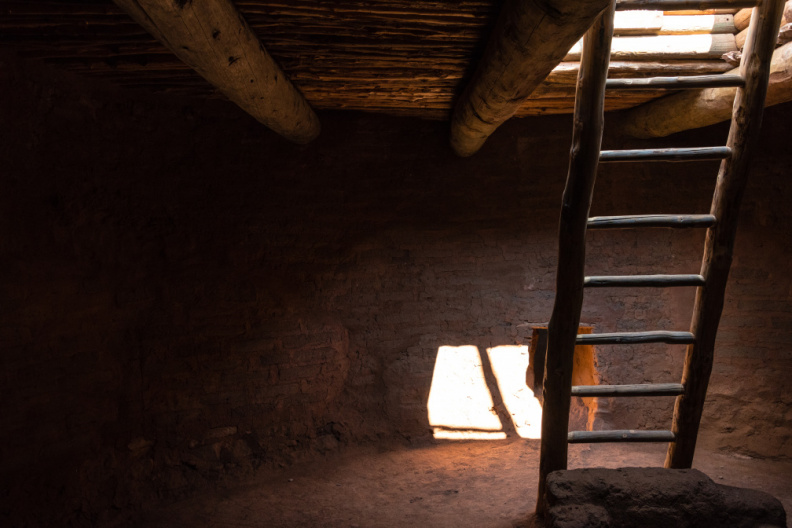
The following morning we returned to Mesa Verde to visit the Cliff Palace and Balcony House cliff dwellings, hiking down into the canyon and ascending via several wooden ladders up to 32′ tall. It was amazing to think these structures had been around for almost a millennium.
The following day we hopped in the truck and drove west to Canyons of the Ancients and Hovenweep National Monuments.
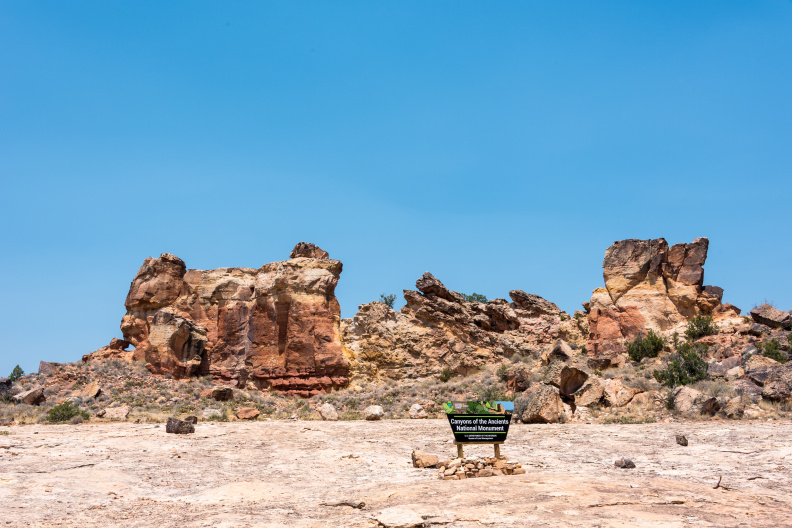
Canyons of the Ancients
We started with a few hikes, the rocky terrain reminding us Moab, and the took the (lengthy) clockwise route around Canyons of the Ancients National Monument to Hovenweep National Monument.
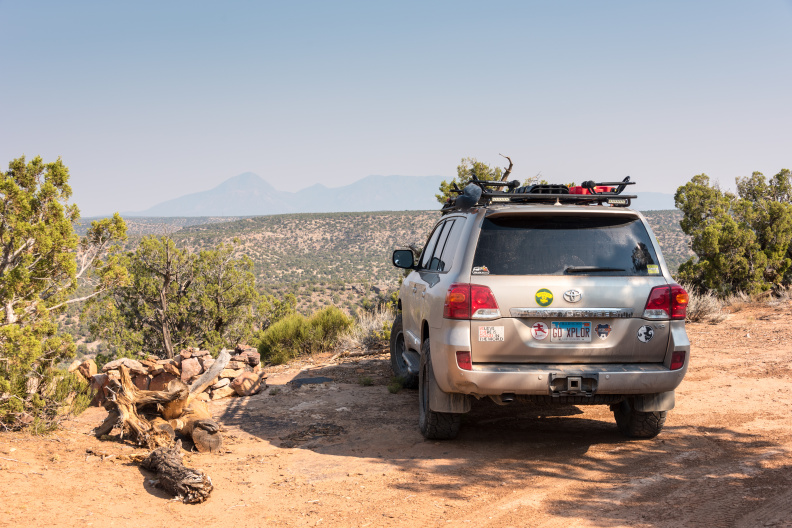
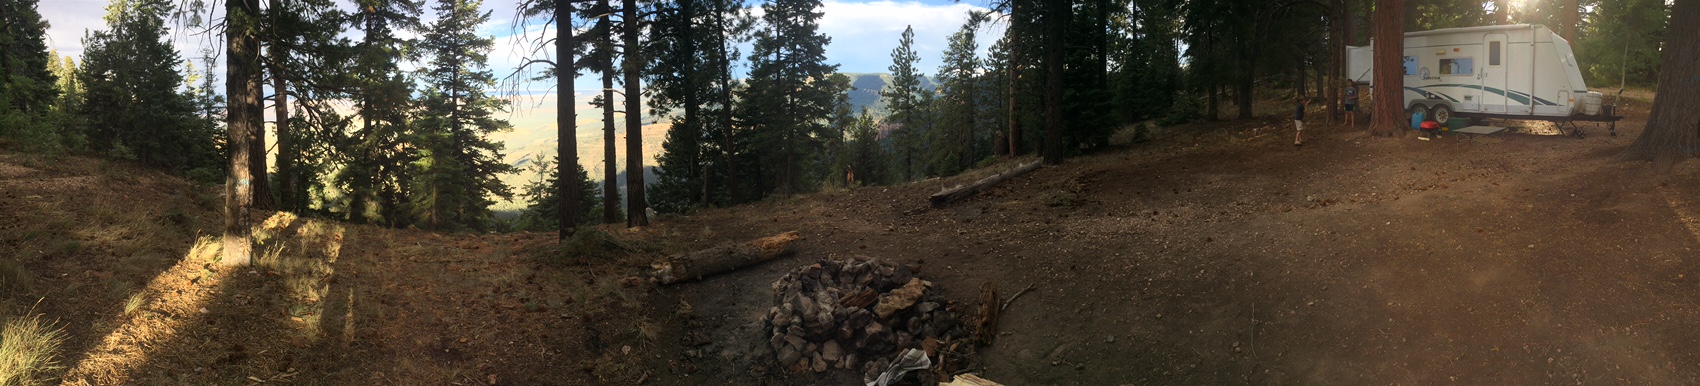
Disbursed campsite along Cutthroat Trail
Afterwards we went looking for a building called “Painted Hand”.
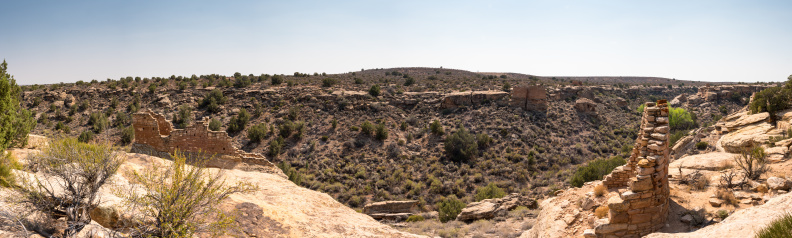
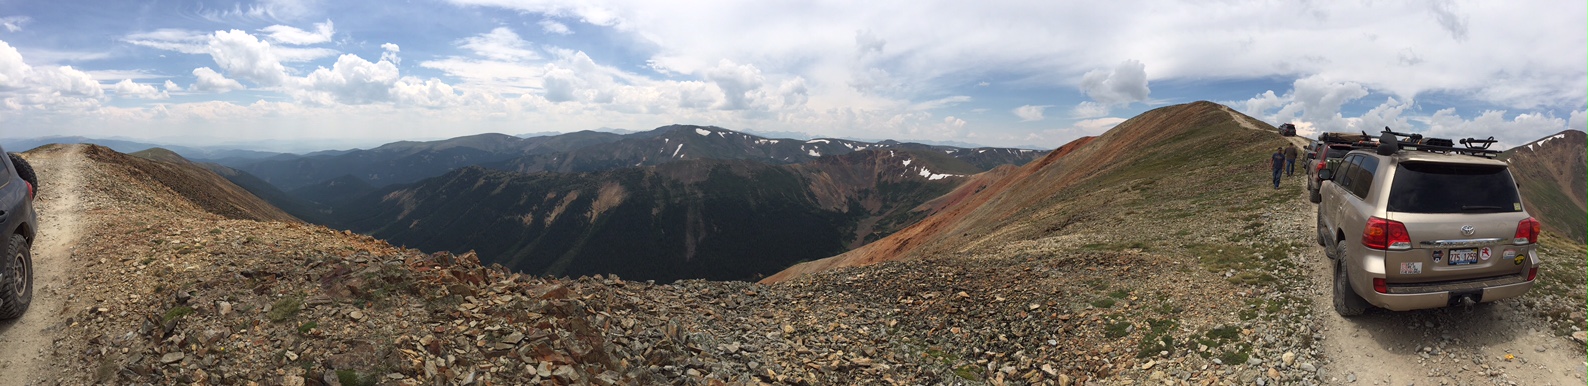
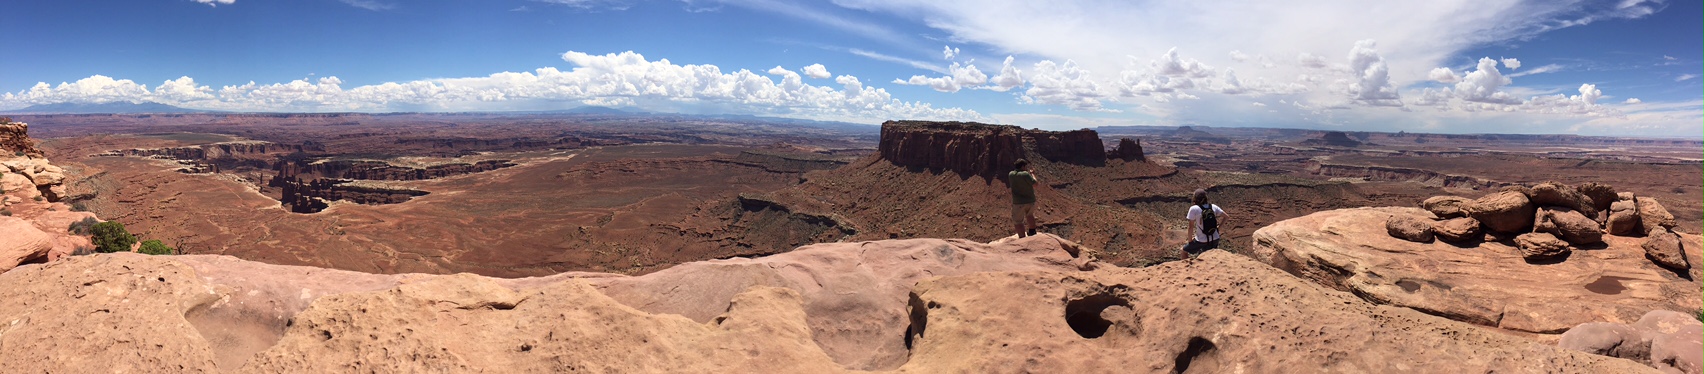
Panoramic view of Hovenweep
We never did find it, though we did take a fun 4WD trail that was moderately challenging we later found out was called “Cutthroat”. Tired we returned to our campsite, ready to pack up for New Mexico the following morning.
Day 8
We packed up with the artist town of Taos, NM as our next destination. Once again we left early, this time taking an unplanned diversion to the Grand Sand Dunes National Park.
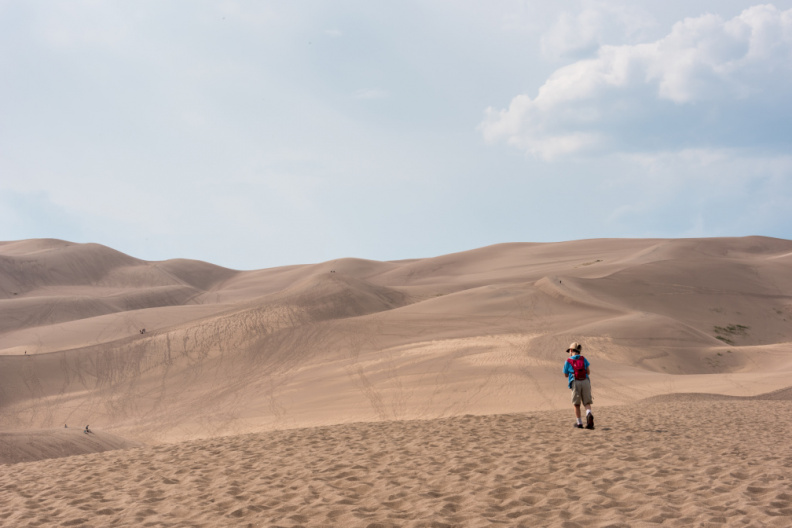
Great Sand Dunes
Although we initially decided to stop by to tick it off our list of national parks, we found the park incredibly beautiful with rivers, mountains, and far more to do than initially anticipated.
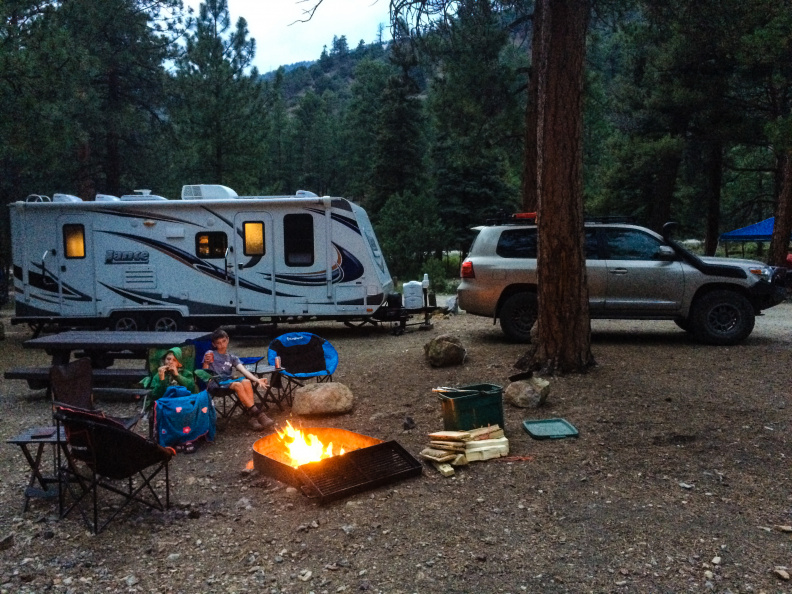
Fawn Lakes Campground
We were disappointed that we could only spend a few hours and determined that we would have to come back another summer when we could dedicate several days. Back on the road, we finished our drive to Fawn Lakes Campground near Taos and Red River, NM, arriving just in time to pitch camp and head into town for dinner.
Day 9

Taos Pueblo
We started off the day at Taos Pueblo, still occupied and permitting visitors. 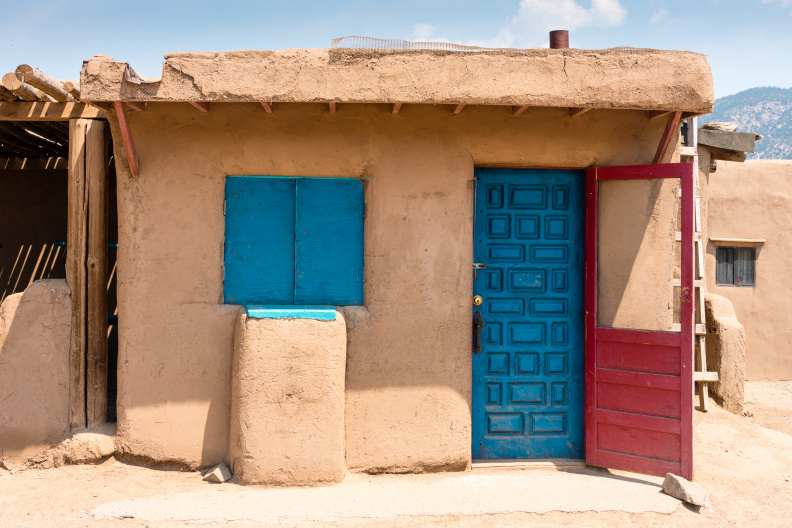
The kids (including us big kids) snacked on fried bread, looked at Pueblo jewelry and art, and then wandered the Pueblo checking out the buildings, culture, and talking to the native americans.
We then headed to the Black Rock Hot Springs for a lazy dip. Unfortunately several people who seemed to have lost their clothes had beaten us there. Never discouraged, we headed further up river and took a trail down to the beach where the kids played in the water until they were ready for dinner.
Days 10 and 11
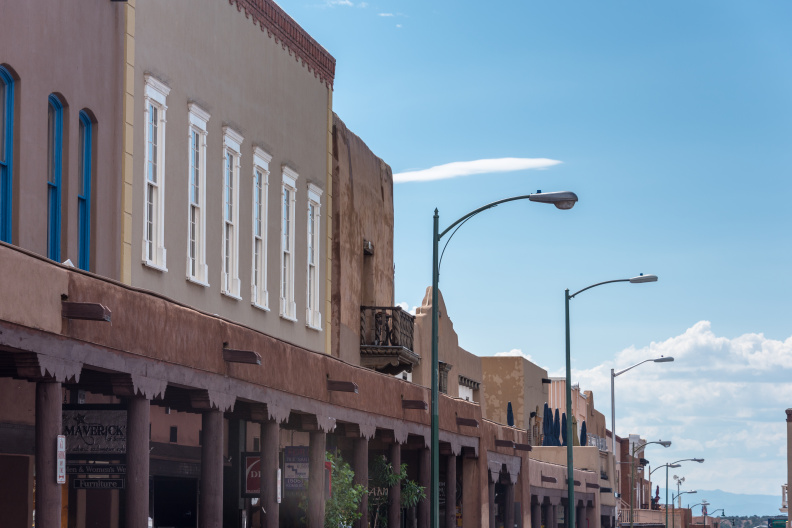
Downtown Santa Fe
Once again we packed up camp, and drove just a few hours to Black Canyon Campground in the mountains to the east of Santa Fe.
We set up camp, finishing up as a big storm approached, and then headed into town for a few hours. Our plan was to check out some of the shops and museums, but unfortunately the power was out through most of the downtown area, so we ended up just wandering around until dinner.
Cave dwellings at Bandelier National Monument
Yes it’s as steep and high as it looks.
The following morning we headed to Bandelier National Monument, just outside Los Alamos to the north. The cave dwellings weren’t as intricate as those at Mesa Verde, but it was very cool to climb up the ladders and into them. One set at the end of the trail had several steep wooden ladders, including one that was over 40′ tall.
In the afternoon we drove southeast to Pecos National Monument.
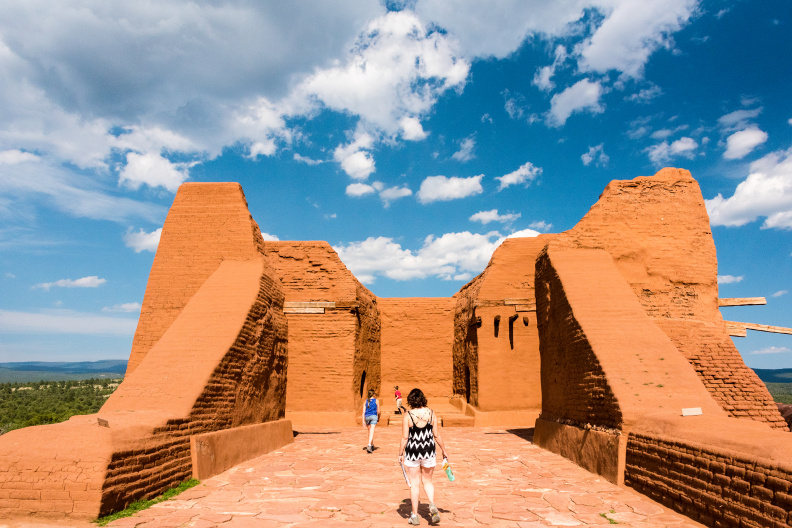
Church remains
The red clay brick was dramatic against the blue sky, but the unique thing about this monument is that you can actually climb ladders down into the kivas.
Kiva at Pecos
After running around for the day we made our way back to the campground to cook dinner and relax, knowing we had quite a long drive ahead of us tomorrow to get to Carlsbad Caverns.
Day 12
We would visit Carlsbad Caverns that evening, and then leave the following morning for Big Bend.
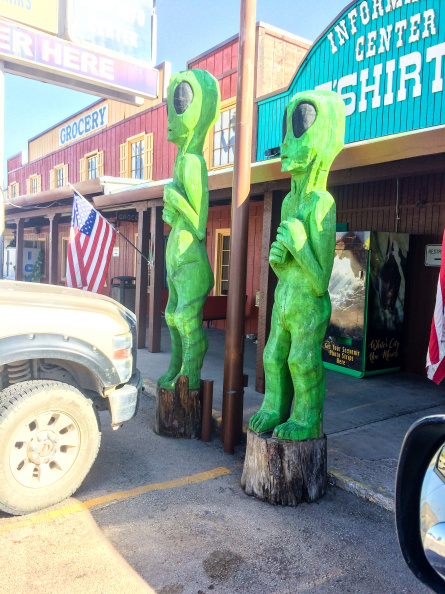
Roswell that ends well
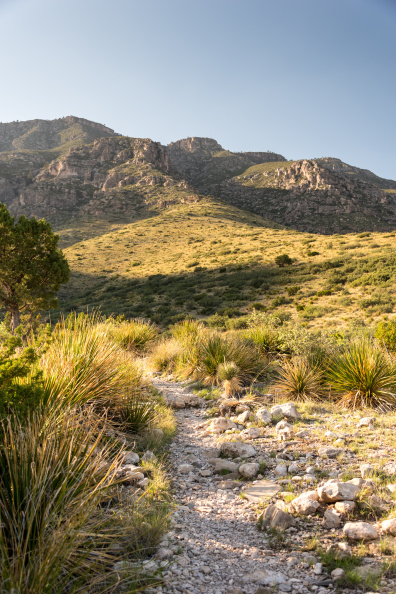
The Guadalupe Mountains
A few weeks before leaving my friend Dave Johnson told me about his trip out west though and insisted that I had to visit Guadalupe National Park. I had planned 4 full days in Big Bend, plus three days to return home, and as our trip went on we had debated trimming one day to check them out, knowing we were unlikely to come back. So we rearranged our trip and decided to camp an hour south of Carlsbad at Guadalupe NP for the night, just across the Texas border. We would visit Carlsbad the next day, and then leave the following morning for Big Bend.

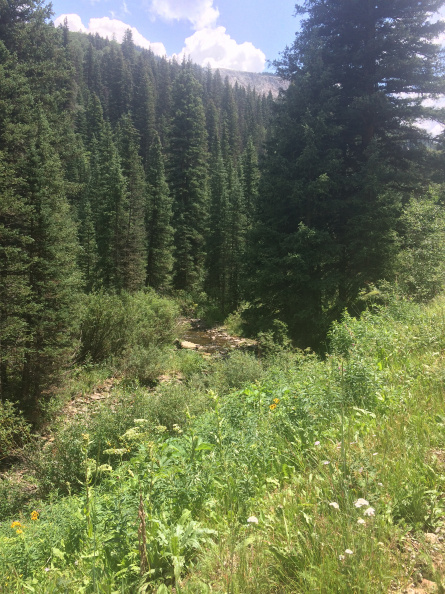
A stream along a hike at the base of the mountains
We arrived at the park around 4pm, and were disappointed to find out that the wooded campground was only for tent campers.
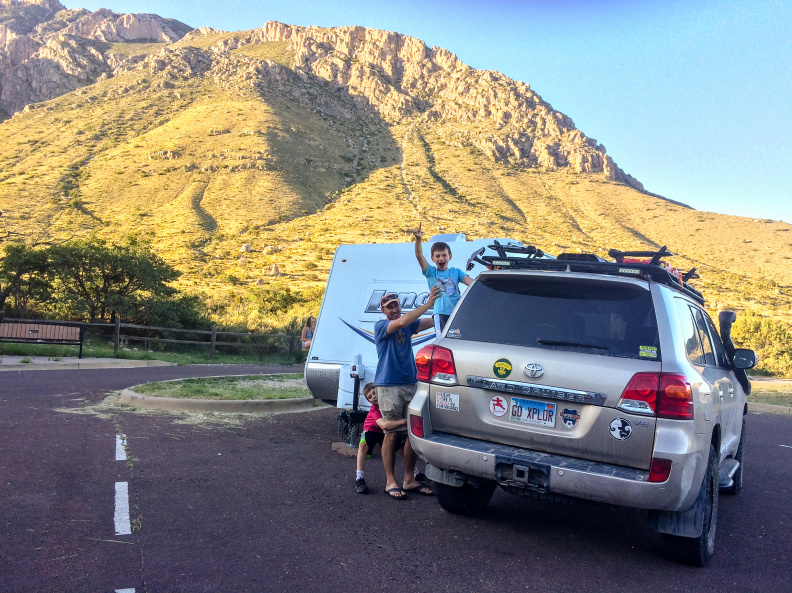
Those with trailers, RVs, and vans could only camp in the parking spaces designated for RVs at the start of the trailhead. By this point however we were tired from the drive and didn’t want to backtrack 90 minutes to our original campground, so we paid the $8 and set up for the night.
We broke out the hibachi and grilled chicken for tacos in the parking lot, ate dinner, and played cards in the camper.
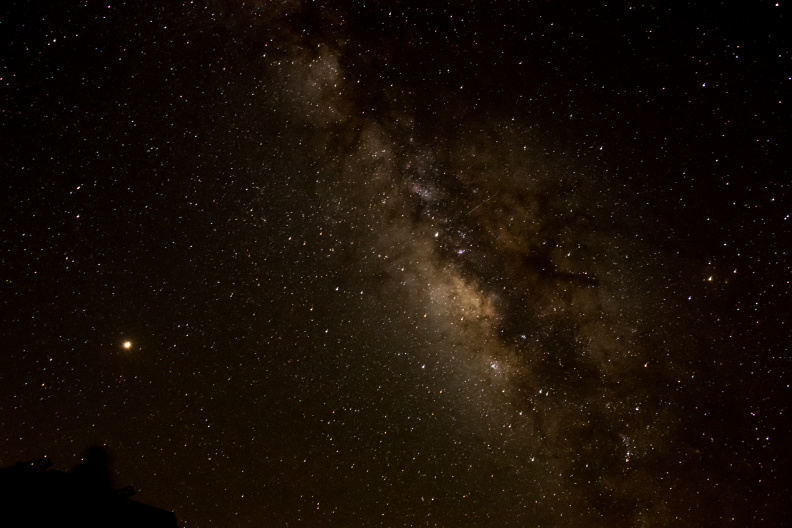 Once the sun set, the parking lot went dark and we were treated to an absolutely amazing view of the milky way.
Day 13
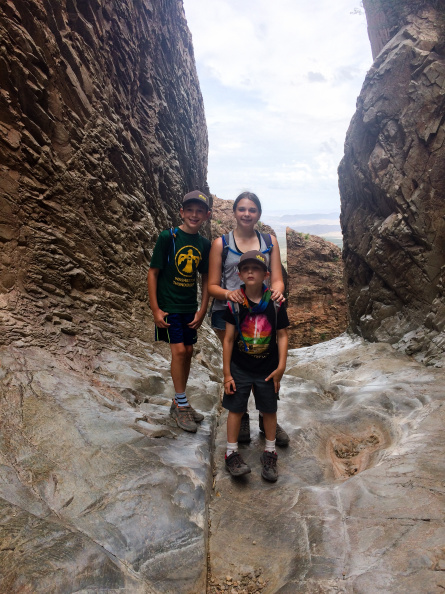
The following morning we wanted to do a hike before heading up to Carlsbad Caverns. El Capitan sounded epic, but would have taken a full day. The ranger recommended a hike called The Devil’s Hall, meandering from the trail head up a dry river bed.
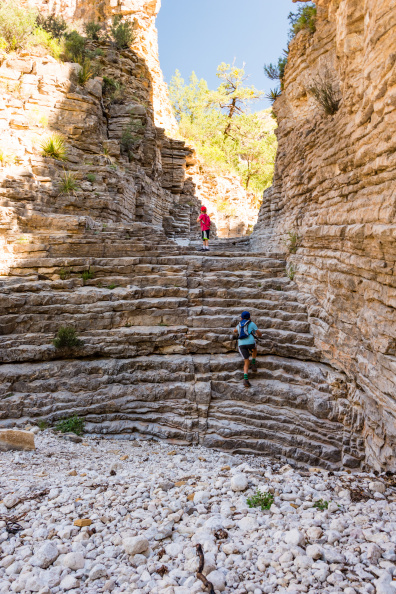
Steps to Devil’s Hall
The Devil’s Hall
The round trip hike took about 3 hours, most of which thankfully was at least partially shaded. The walk back to the camper was faster than the hike down (isn’t that always the case). We got back to the camper, ate lunch, and started the trip back into New Mexico to see Carlsbad Caverns.
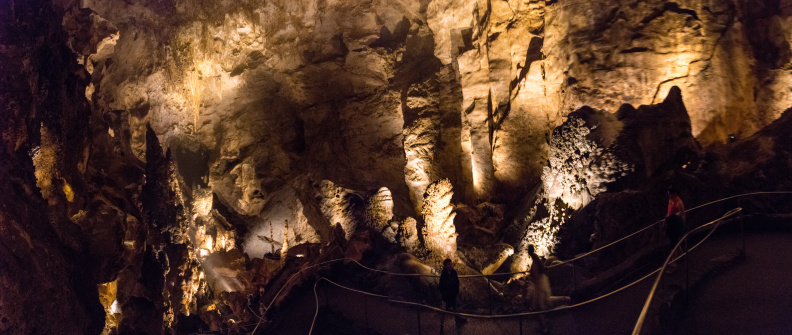
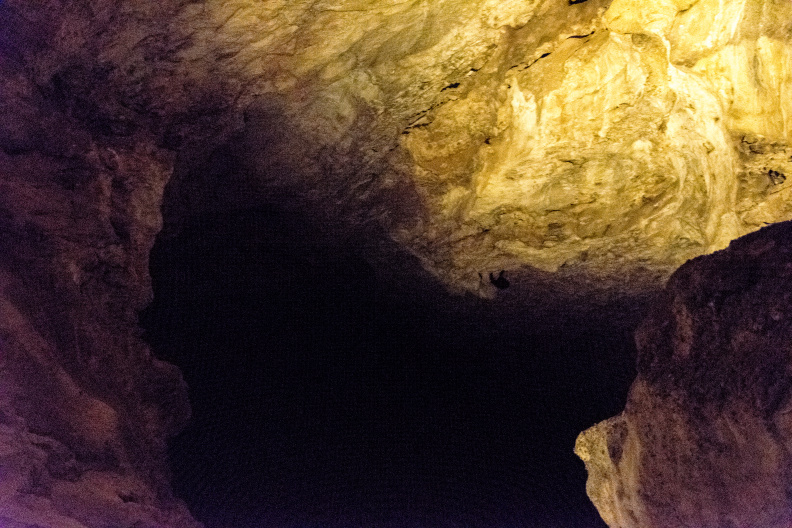
We’ve been to a few natural caves before such as Luray Caverns, VA and Mammoth Cave, KY, but Carlsbad Caverns, with its enormous great room was even more impressive. Equally memorable was the smell of bat droppings that littered the entrance to the cave and permeated the air.
Steep walk down into the cavern. Thankfully there’s an elevator to take you back up.
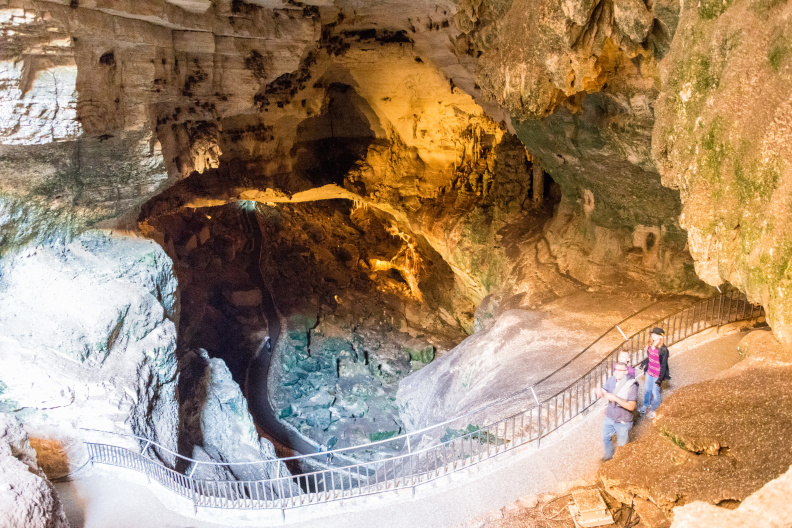
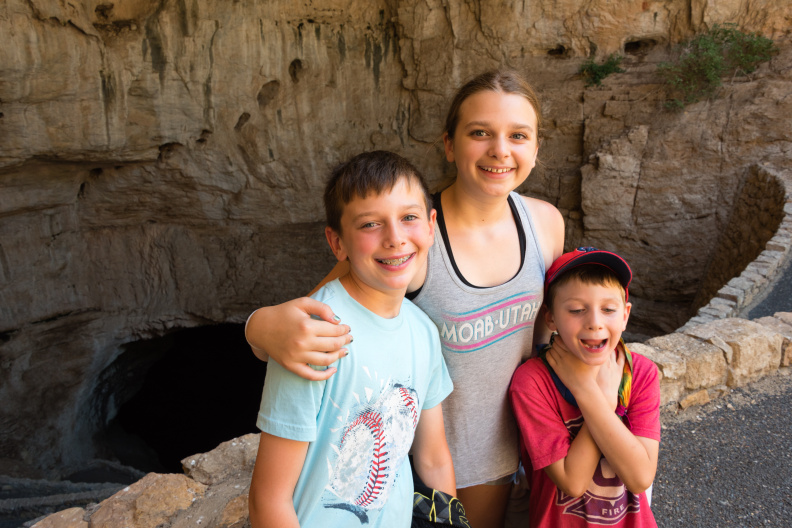
Entrance into Carlsbad Caverns
 The steep walk into the cave took about a half hour, the first part reeking of bat guano. We held our noses and braved the smell, descending about 750′ underground.
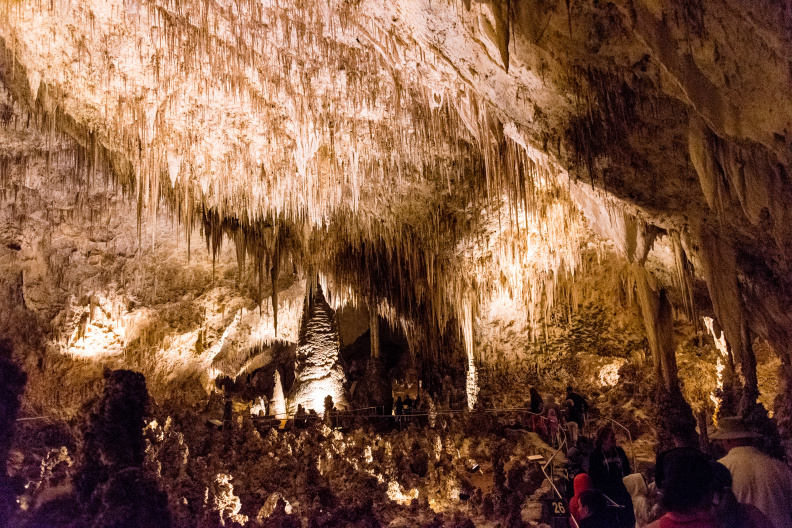
We were treated to the typical stalactites and stalagmites, of course, but also a interesting history of the caves.
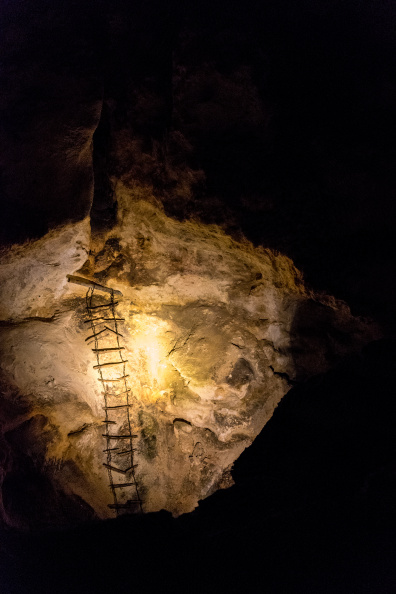
Original ladder
For instance, when the early explorers visited the caves, they used wooden rope ladders to descend and had only candle-lit lanterns.
“Bottomless pit” (it’s actually 184′ deep)
We finished off the tour of the great room, including the infamous “bottomless pit”. From our vantage point the bottom was just black, so it’s no surprise early explorers thought it went on forever. We learned from the sign however that modern explorers have descended it and measured a depth of 184′ – not quite bottomless, but I wouldn’t want to climb down.
Day 14

Christi in front of El Capitan
Departing Guadalupe the following morning we headed to Big Bend National Park, our last big site. We passed El Capitan at the southern end of the Guadalupe Mountains and drove south to Marfa before entering the park through Terlingua, TX.
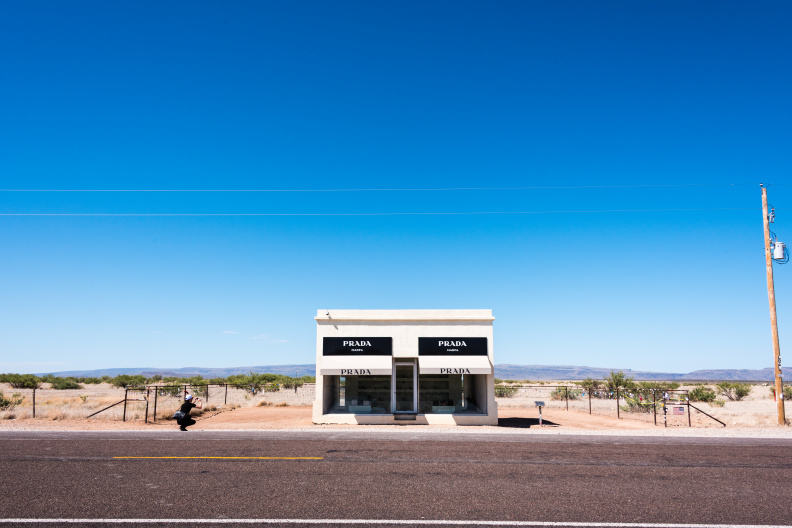
Prada “store” near Marfa, TX
For the uninitiated, Marfa is an artist town in west Texas. Apparently some artist built a replicate of a Prada store in the middle of nowhere, filled with shoes and purses just like a real store. (The front door, however is inoperable. It was funny enough to we had to stop and take some photos (along with three other cars passing through the area).
Cottonwood Campground
We continued on to Big Bend, stopping at the visitor’s center for information on the first-come, first-served campsites available in the park.

We’re melting!
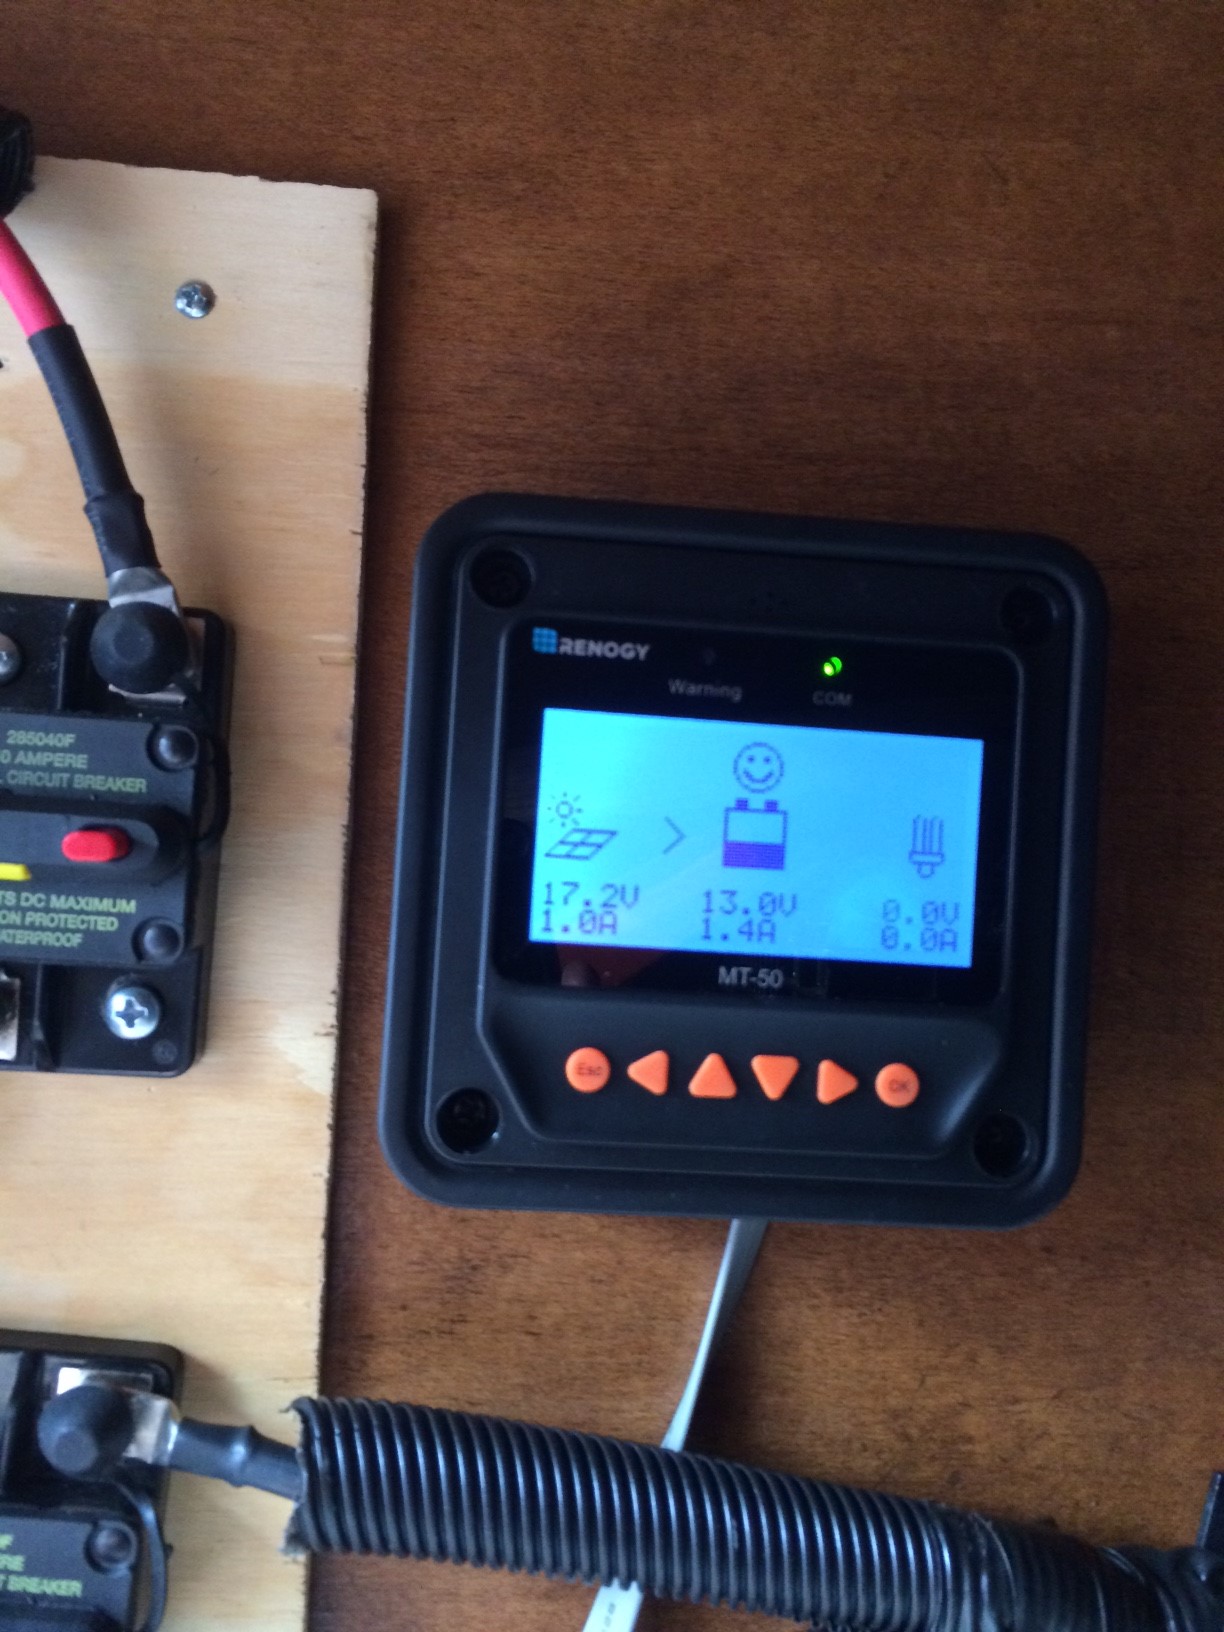
Being mid-August and 102F, the rangers suggested we use the Rio Grande Village RV site, the only campground in the park with electricity. Stubbornly I decided we weren’t going to stay in another parking lot, and after checking out the Chisos Basin (which wasn’t really designed for trailers), we set up at Cottonwood Campground. The campground was completely empty. That was a plus as the kids were antsy and so the noise wouldn’t bother any neighbors, but it foreshadowed what was to be the hottest night any of us had ever experienced. That night we killed the battery, draining it until the meter had a frown. It never fully recovered.

Canoeing the Rio Grande
Day 15
The following morning we packed up and headed into Terlingua. We met our river guides at Big Bend River Tours, and they drove us into the park for a lazy day of canoeing and swimming in the Rio Grande.
 Fun fact: the US-Mexico border actually runs through the center of the river. However, you don’t need a passport unless you set foot on land on the Mexico side. If you are caught crossing into (or back from) Mexico by the US border patrol, Customs and Immigration levies heavy fines and possible jail time, so we did not wade across and touch the Mexican side, we didn’t stop our canoes on the Mexican shore to stretch our legs, and we certainly didn’t climb on their muddy banks and jump into the Rio Grande over and over in an effort to cool off from the sweltering 100+F heat.
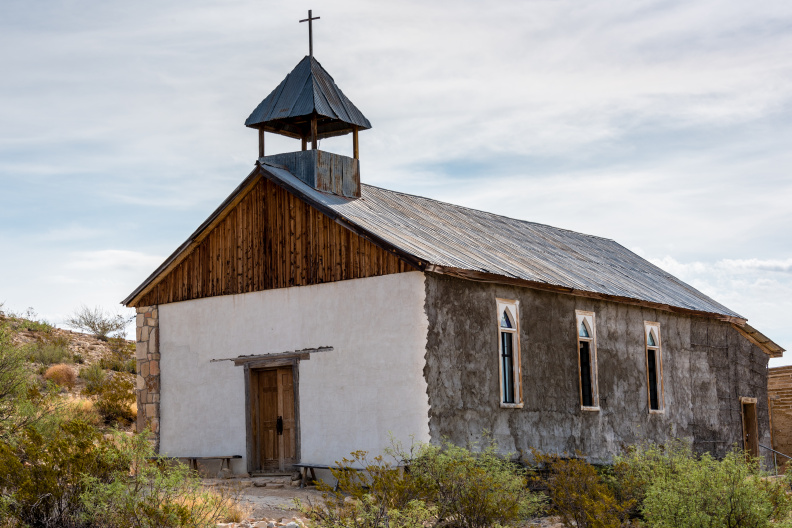
Terlingua church
That evening after a brief rest, we headed back to Terlingua, parked the camper at an RV park, cranked up the A/C, and ate dinner at the Starlight theater.
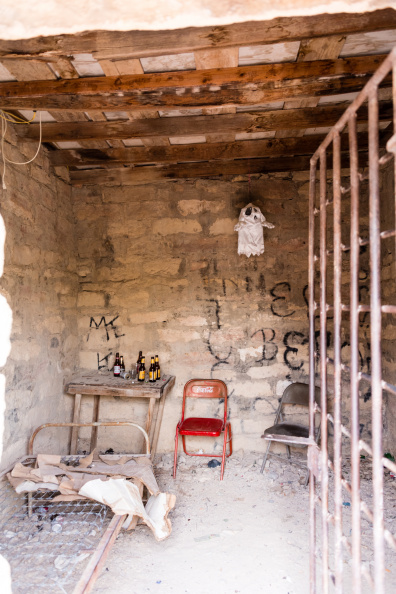
Terlingua jail
Terlingua is a ghost town that has been partially re-established. Originally created to support the local quicksilver (mercury) mine, the town shut down in the 50s but now supports a small population. Apparently Terlingua is home to the original chili cookoff – and it showed. The burgers were good but the Terlingua chili was outstanding.
Day 16
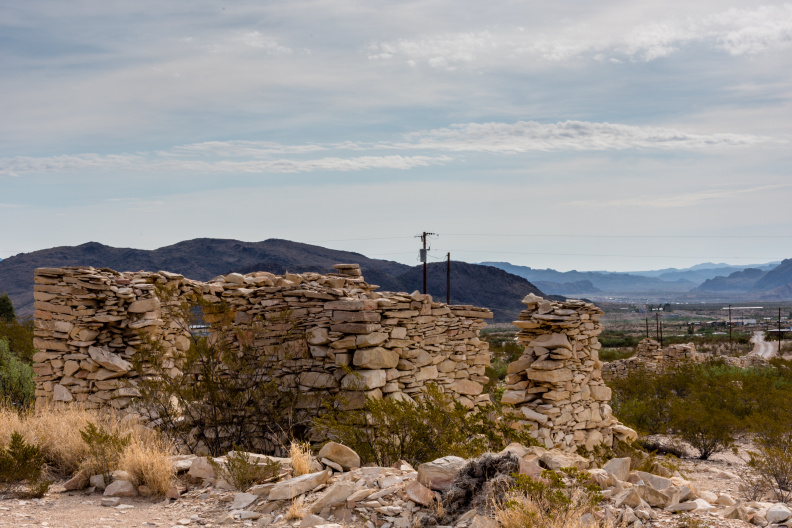 We went back to Terlingua for breakfast and locked Nate up in the town jail (just for a moment). We wandered through the town, checking out a few old buildings (some barely standing), rusty vehicles, and a church which appeared to still be in use. Then we headed out to do some hiking and 4WD exploration in Big Bend National Park.
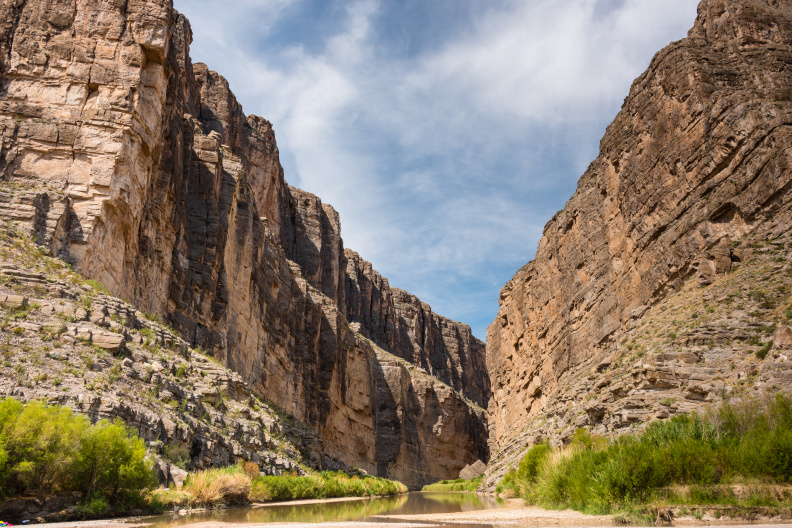
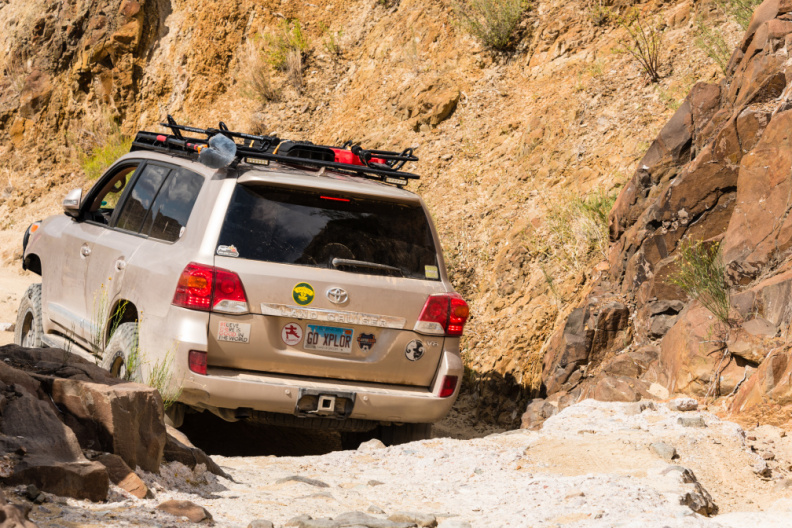
First stop in the park for the day was Santa Elena Canyon.
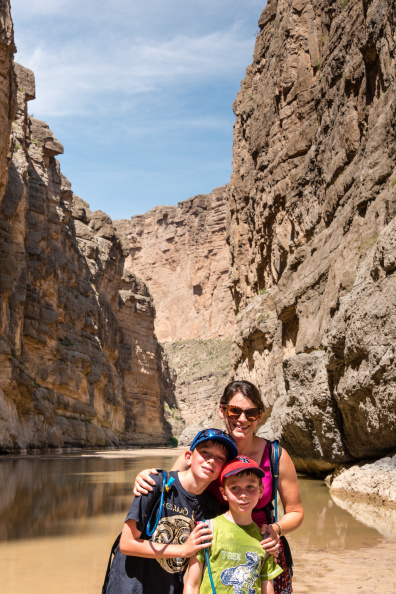
Santa Elena Canyon, Big Bend
We had originally hoped to raft the Rio Grande through Santa Elena Canyon, but we had been told earlier in the week that the river level was so low that the outfitter wouldn’t be able to float a raft. Thus the day before we ended up in two canoes along a less dramatic (but still beautiful) section of the river.
 We still wanted to see the canyon, so we drove south to the river and the took a 1.2 mile hike out to an overlook inside the canyon. The view of Big Bend was incredible, but the temperatures were already soaring and so afterwards we decided to explore a more remote area of the park by taking the 4WD-only River Road, which winds along the basin near the Rio Grande for about 60 miles.
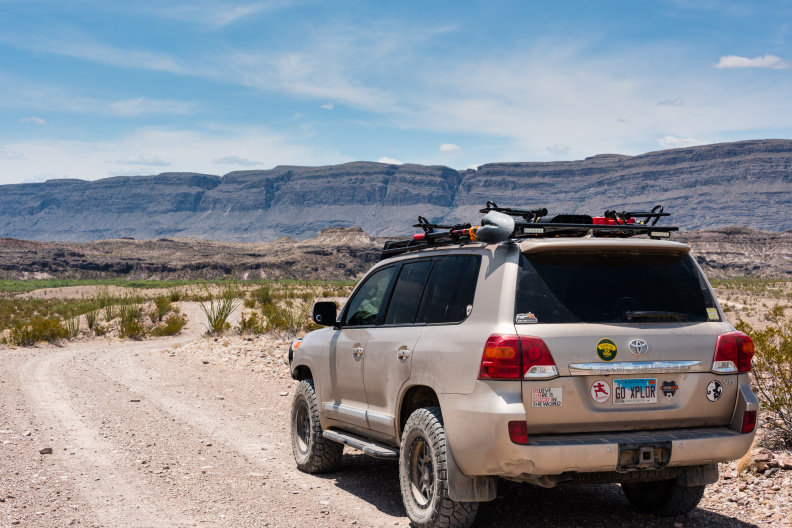
River Road
The higher parts of the River Road are gravel and are passable by any normal clearance sedan. However the bluffs regularly wind down to a dry river bed with ruts and moguls. Most would have been passable in 2WD, but high ground clearance was definitely required.
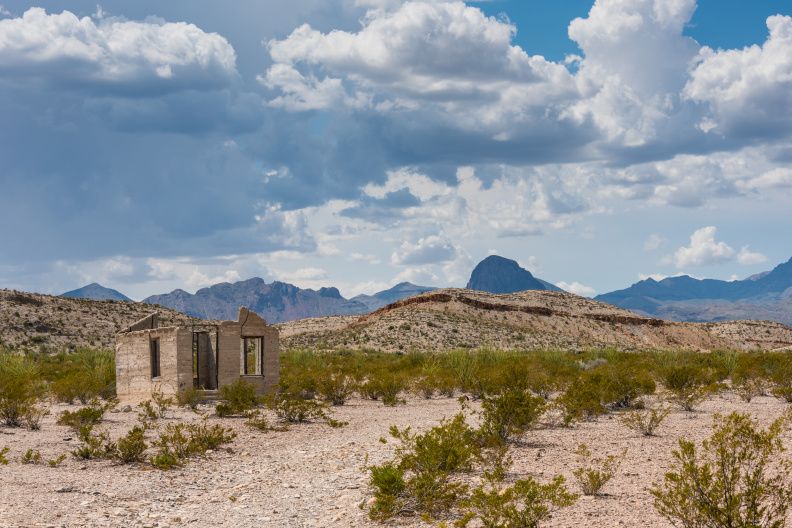
Mariscal Mine
We followed the road for a few hours, pausing to take the occasional photo. Lacking shade, we stopped for lunch at ate off the back of the truck.
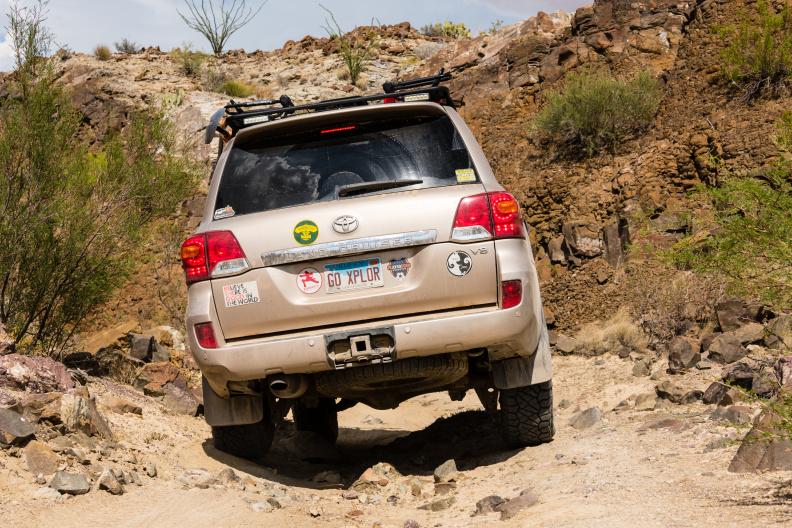
Trail into the unmaintained Black Gap
About 3 hours in we took a short detour and stopped at the Mariscal mine, an abandoned mercury mine. Storms were rolling in from the distance, and as we didn’t want to get caught crossing a low lying river bed during a storm, we took a few photos and headed back on the trail.
Bottom of Black Gap
The next section of trail was called Black Gap, and featured a narrow passageway and moderately steep section with a drop of about 2′ at the end. While I was concerned at first having read that the park service no longer maintains the trail, the steep section had cement mixed in with some of the rocks (presumably to keep it from deteriorating) and some prior visitors had stacked rocks at the bottom to ease the drop. It was fun, but after our adventures in Colorado we were surprised at how easy it was.
As the rain picked up we sped up the pace and hit pavement about 45 minutes later, the whole trail having taken 4 to 5 hours.
Day 17
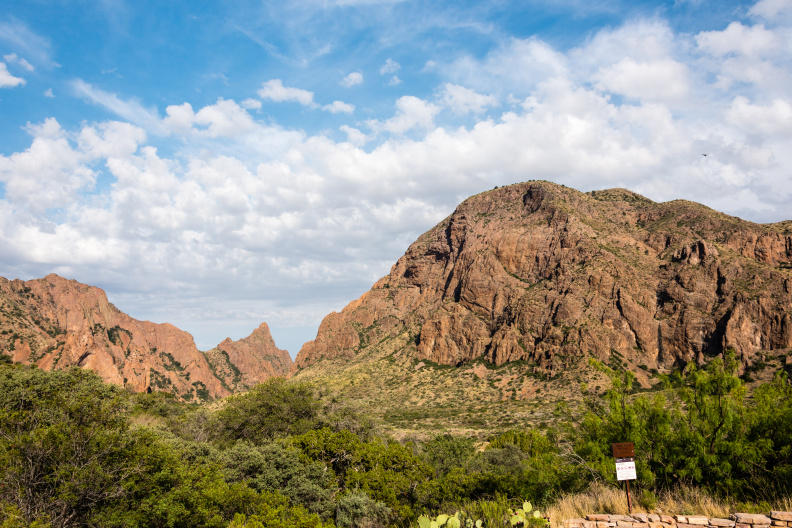
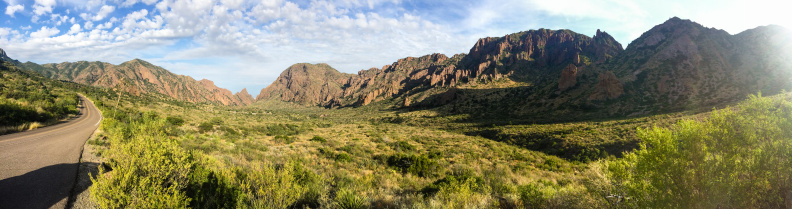
Chisos Basin
We originally debated leaving Saturday, but after experiencing the August heat in the Chihuahuan desert and facing a 24 hour drive home we decided to spend the morning hiking and then head out after lunch on Friday instead of leaving early Saturday morning.
The Window
We headed up into Chisos Basin, leaving the trailer at the visitor’s center (the park service does not recommend trailers longer than 20′ on the road leading into the basin). The hike was about 4 miles round trip, leading us to a narrow but amazing view of the park.
 We ate lunch, hooked up the trailer, and hit the road for home. Our plan was to stop somewhere in Oklahoma for the night, then in the Mark Twain National Forest the following evening just to break up the long trip back.
Day 18
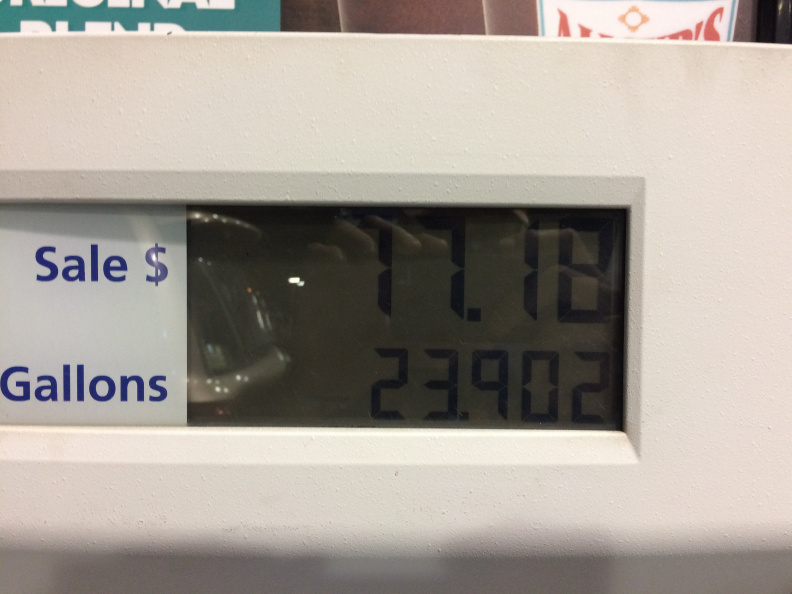
Coasting on fumes? Nah we had at least 6/10ths of a gallon left in our 24.5 gallon tank.
We drove through a few tremendous downpours in Texas before stopping for BBQ in Abilene. After a harrowing nighttime drive through multiple towns with no gas station, we found fuel and were able to fill up, before ultimately stopping to rest at an RV park just shy of Wichita Falls. (I wasn’t too worried, we had 4 gallons in our rotopax on the roof, just in case).
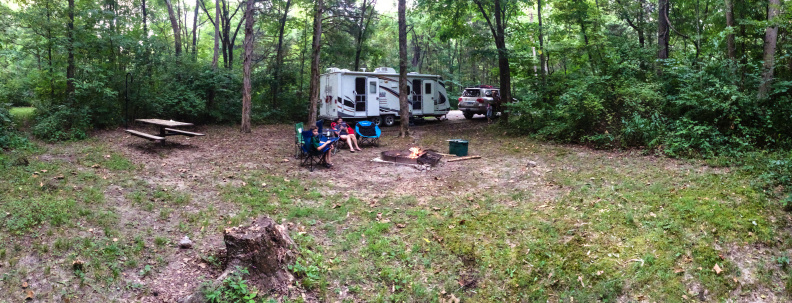
Mark Twain National Forest
The following morning we hit the highway early and pressed on to the Mark Twain National Forest. We arrived in the late afternoon, found a free campsite, and set up for the evening.
Day 19
The final day of the drive home was uneventful. It was dinner time by the time we arrived home, so we unhooked and unpacked, thrilled to take a warm shower longer than 60 seconds, turn on the TV, and start on a pile of dirty laundry that rivaled any of the mountains in Colorado.
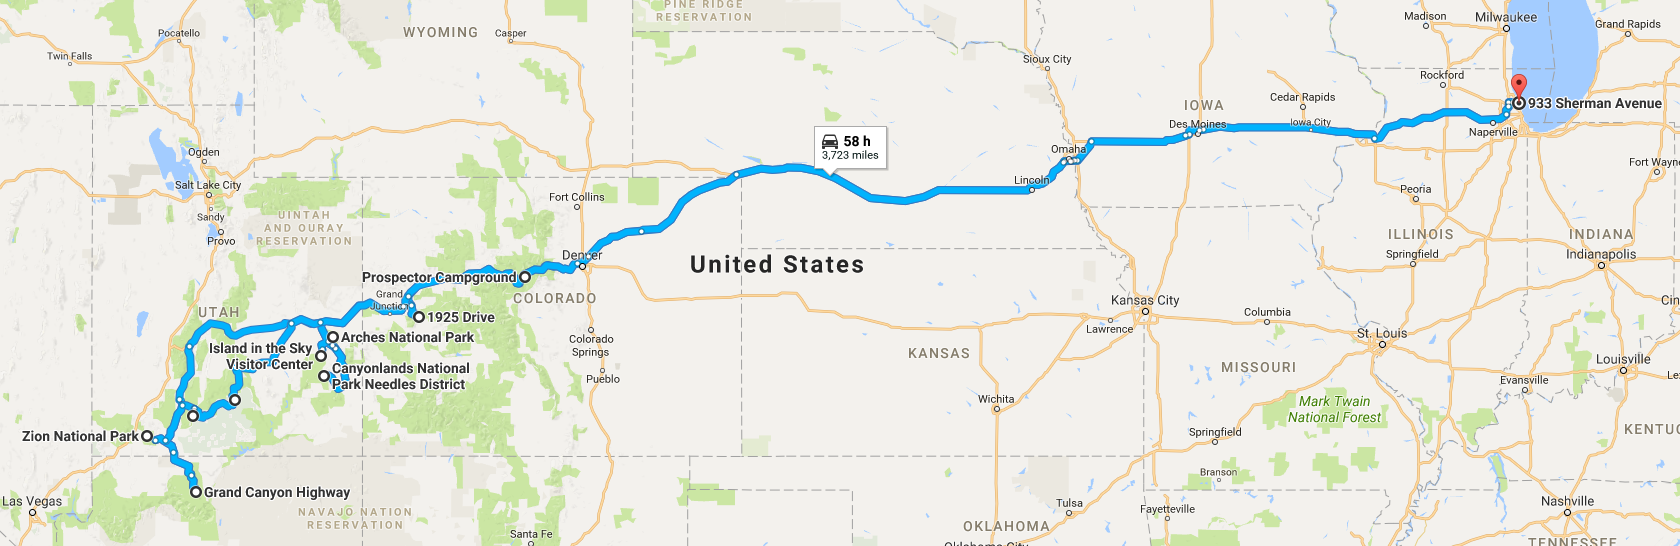
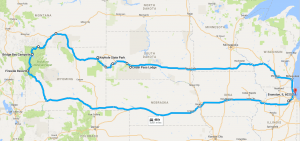
Fun road trip stats:
- $1943.83 in gas
- ~5300 miles (I accidentally reset the trip meter, but this is pretty close)
- 8.1 MPG unadjusted (about 8.5 MPG after compensating for tire diameter)
- 36.6 MPH (unadjusted)
- 144.8 hours in the truck (aka “Butt-In-Seat” time calculated as miles / MPH)
Side note: I think my mileage hit this year was a combination of reduced aerodynamics from the new front bumper and a trailer that is almost 1000 pounds heavier.
Next Year
We’re still deciding what to do next year. Maybe Rocky Mountain NP -> Great Sand Dunes -> Durango, CO -> Moab? Maybe Glacier and BANFF? Maybe Acadia?