In part 2 I talked about my basic 12V setup and how I was top-balancing my new battery cells. I didn’t get into why to top-balance, but there’s an excellent explanation in the DIY Solar Forum – basically each cell is independent and we’re trying to equalize them and maximize the capacity of the pack. I more or less followed Will’s instructions which are also in the forum. However because my cells started out very close to the same voltage (within 0.001V), and my power supply is limited to 10 Amps, I just wired up my BMS and set it to 14.4V/8.5A and let it go. Even still it took ~24 hours to charge, implying the batteries arrived with about 30% charge.
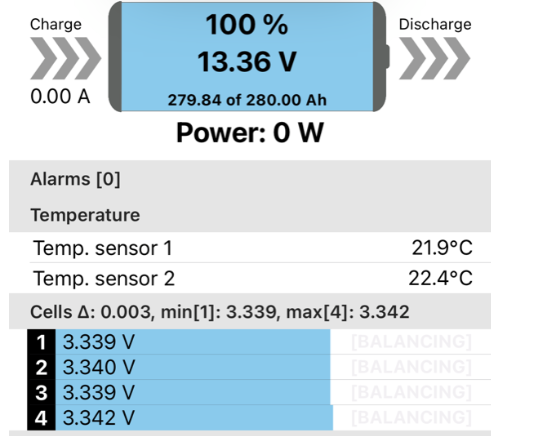
Eventually the cells start to diverge as they get near the top. Once this happened I re-wired in parallel, set the charger to 3.6V and 8.5A and let it go for the night. (Despite only only needing a few amps, at the top of the charge curve the power supply goes from constant current of 8.5A to constant voltage of 3.6V with a very low Amp rating (1.5A or less).
The last 10A took seemingly forever.
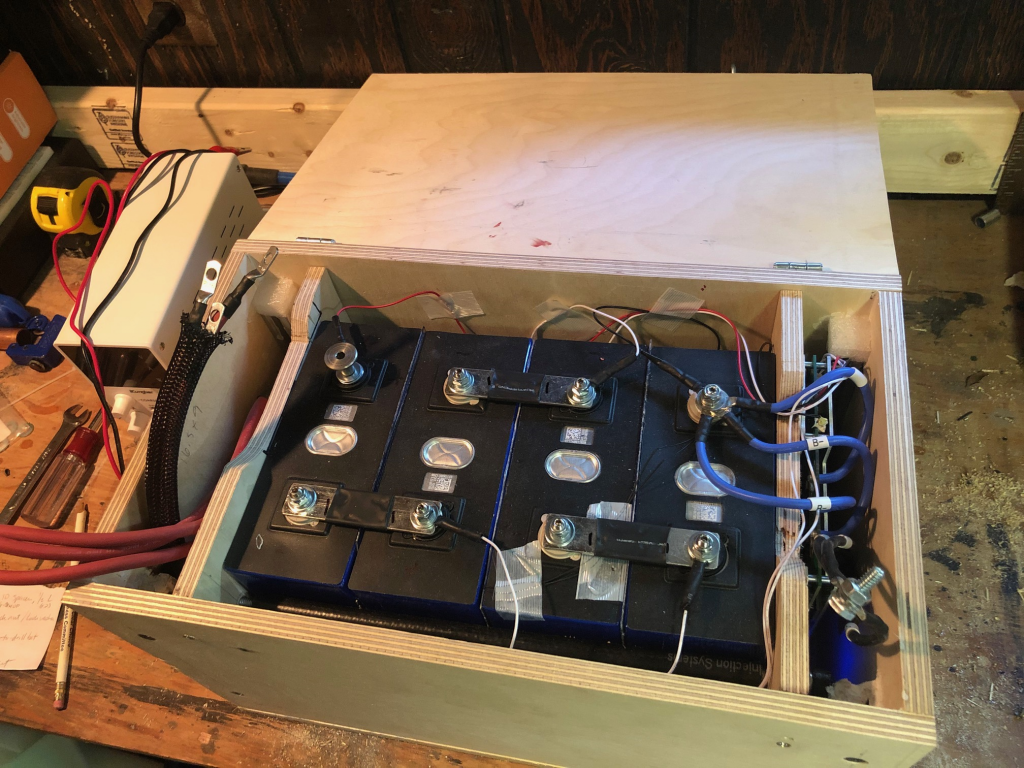
While the cells were charging, I started building the battery box to store (and protect) the cells, as their aluminum enclosures are relatively thin and there are quite a few wires and other electronics required. My goal was to build the main box in such a way that I could “drop” the compression frame with the cells and wiring inside. (Side note: Because LiFePO4 doesn’t tolerate cold, and also I’m not building a IP67 waterproof box, the final battery pack will need to fit inside the trailer in the cabinet underneath the fridge).
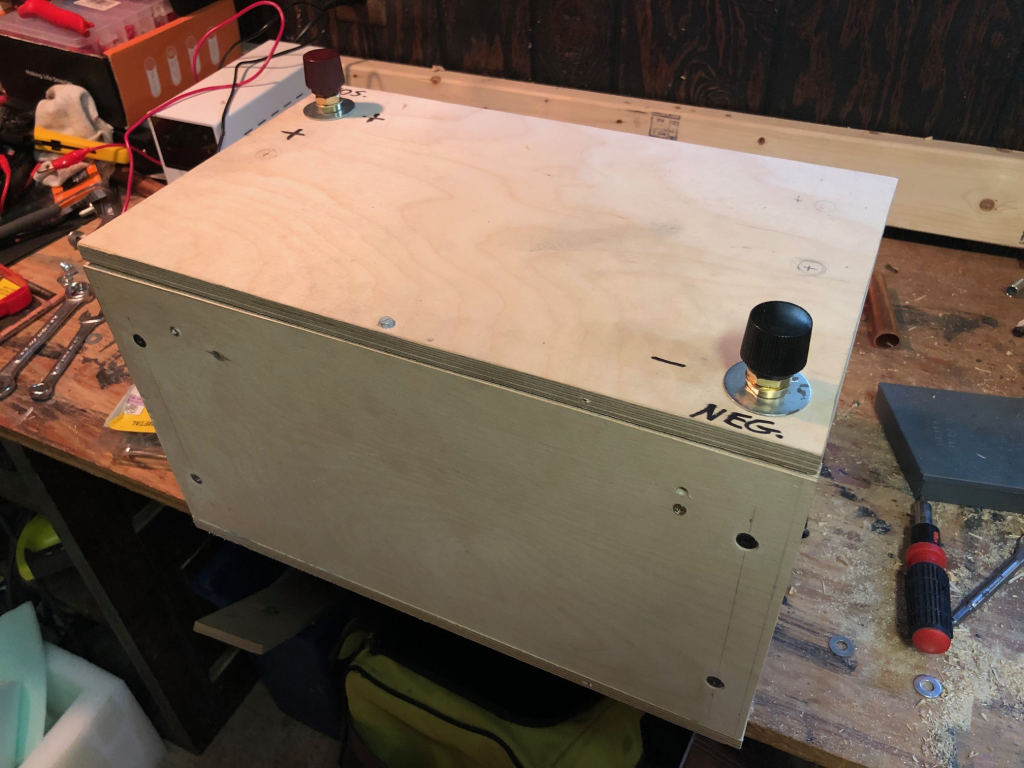
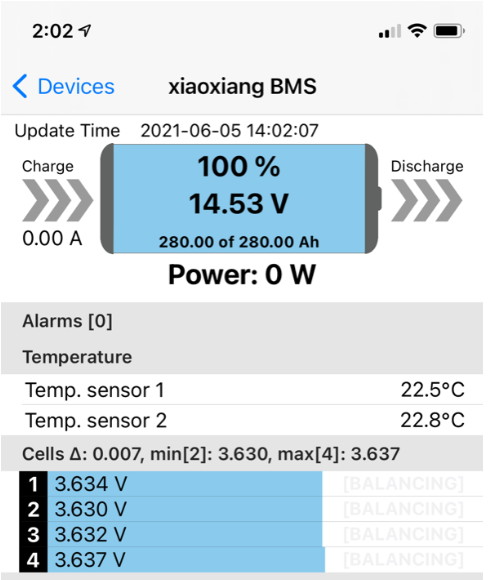
Box finished and battery fully charged!
Last step once complete was installation in the camper. I spent quite a bit more time on Sunday than anticipated re-routing the wiring for the solar charge controller and the main battery circuit. However it’s up and running now, with I believe only some minor tuning of the solar charge controller required to limit the battery charging to ~90% in order to extend the battery life.
First trip will be this weekend and we’ll see how it goes!