I’ve read a number of different thoughts and opinions about towing with the 200-series Toyota Land Cruiser. One popular opinion which seems to come mostly from owners of full size diesel pickups, is that due to the relatively short 112″ wheelbase, the Land Cruiser is a poor towing vehicle. After a few trips and tweaks to my setup, I can confidently say that with the proper setup, the Land Cruiser is actually a great towing vehicle.
Keep in mind everyone’s trailer and towing setup will be a bit different, so rather than take my setup as the bible I recommend you try out your setup and make small adjustments until you’re happy with it.
The Vehicles
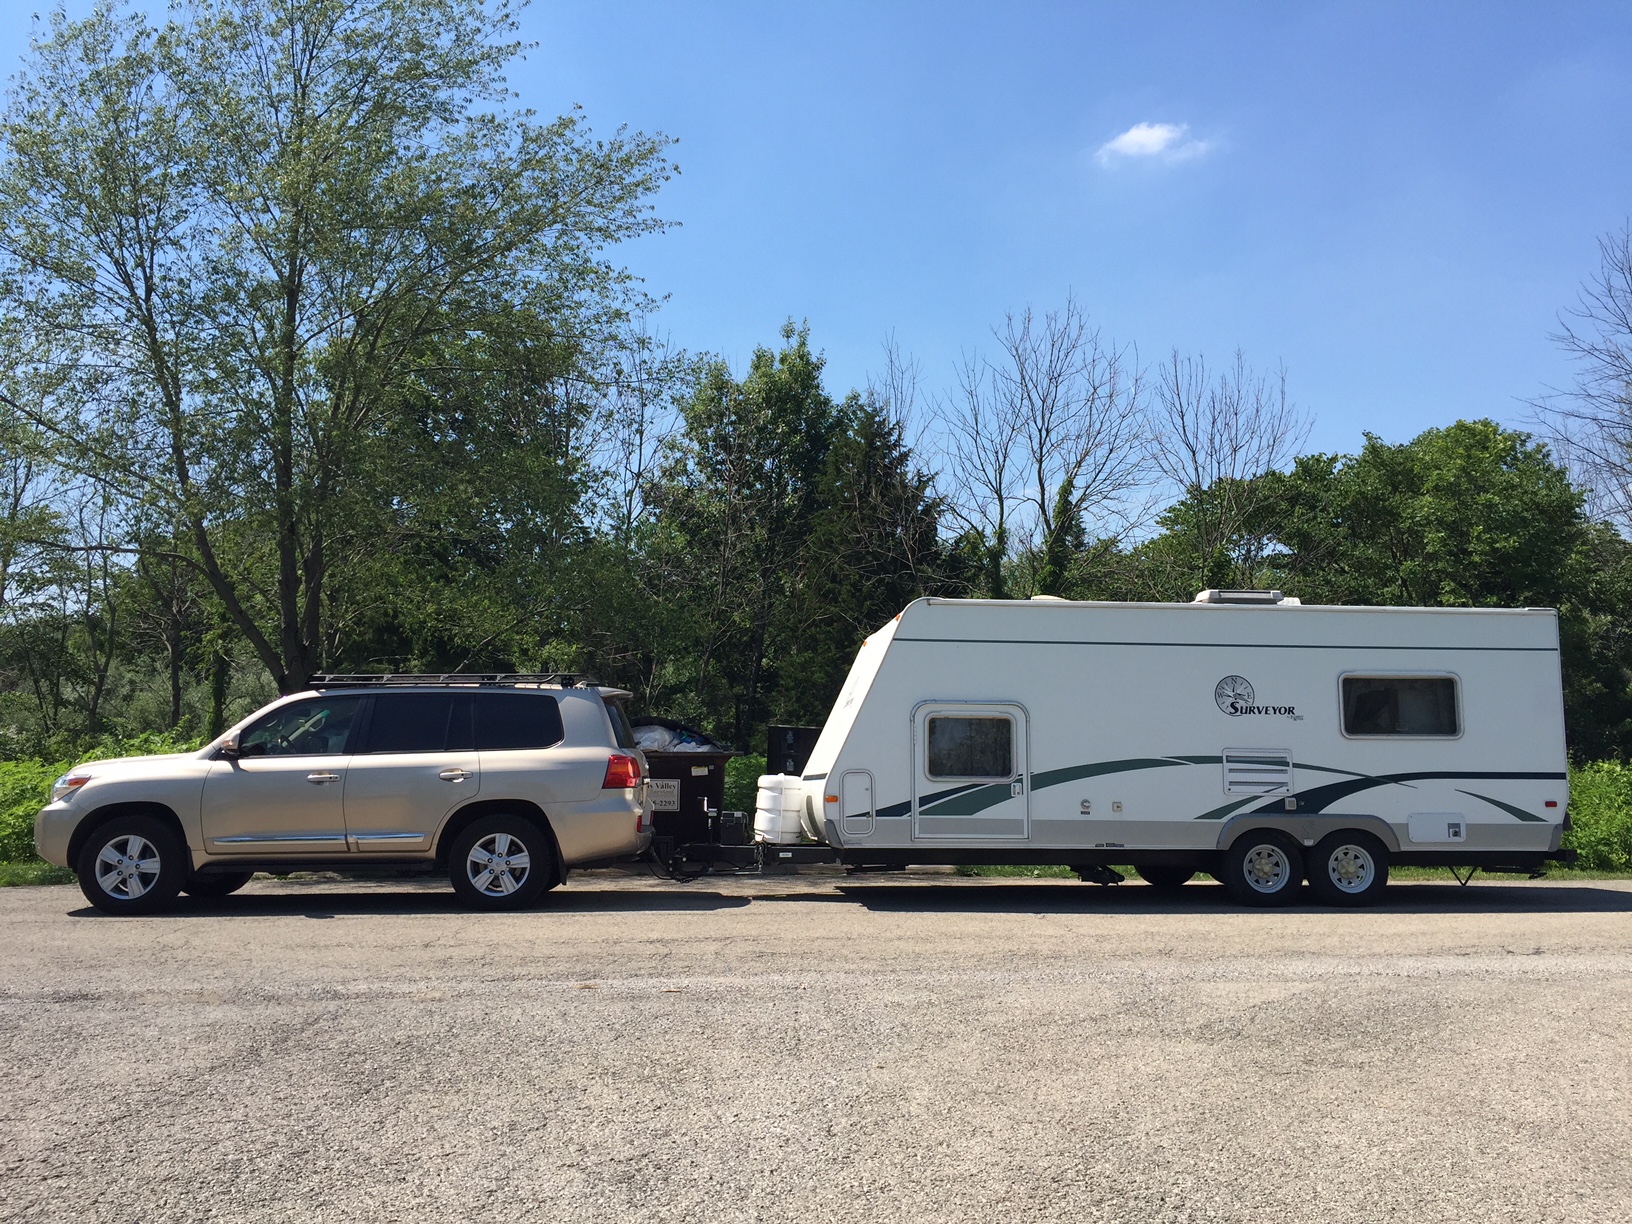
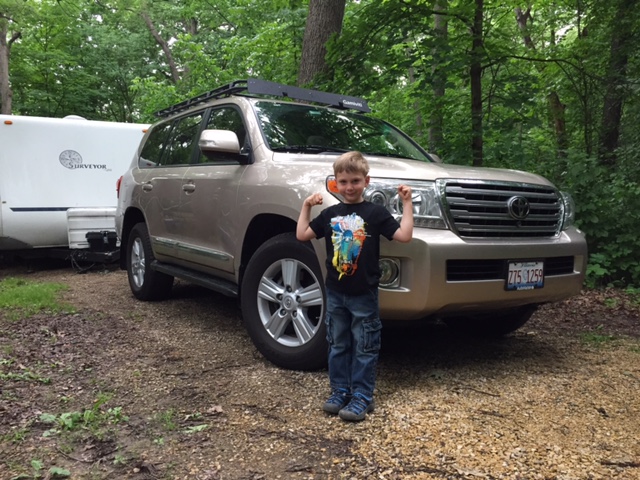
My basic setup is a US-spec 2013 Toyota Land Cruiser with the 3UR-FE 5.7L V-8 engine, rated to tow 8,500 lbs with an 850 lb maximum tongue weight, and a 2005 Forest River Surveyor 235RS trailer which weighs about 5,000 lbs and has a roughly 600 lb tongue weight when loaded with all of our gear (except fresh water). Prior to the Land Cruiser we towed with a 2008 Acura MDX with 5,000 lb rated tow capacity, which definitely pushed the limits of that vehicle. Aside from the trailer, when camping we have 2 adults, 3 kids, a 75lb dog, a cooler full of food and ice, as well as clothing and other miscellaneous items in the vehicle (easily 650-700lbs).
Weight Distribution
One of the keys to the proper towing setup is a good weight distributing hitch with anti-sway setup. When I purchased the trailer I brought it home using a basic hitch and standard 2 5/16″ hitch ball. When I got home I immediately ordered a Pro Series Weight Distribution Hitch with Sway Control for about $250 from eTrailer.com. (Note: Because I never expected my tongue weight to exceed 500 lbs I purchased the basic PS49901 model, with a 550lb limit. While I’ve considered upgrading the bars to allow me to shift more weight and better level the vehicle, the heavier bars tend to make the ride stiff and bouncy). When engaged, the weight distribution (WD) hitch and trunnion bars transfer a portion of the tongue weight off the rear axle onto the front axle of the vehicle. I once weighed the Acura at a truck stop with and without WD and the setup did shift about 80-100 lbs to the front axle depending on how many links on the chain were pulled up.
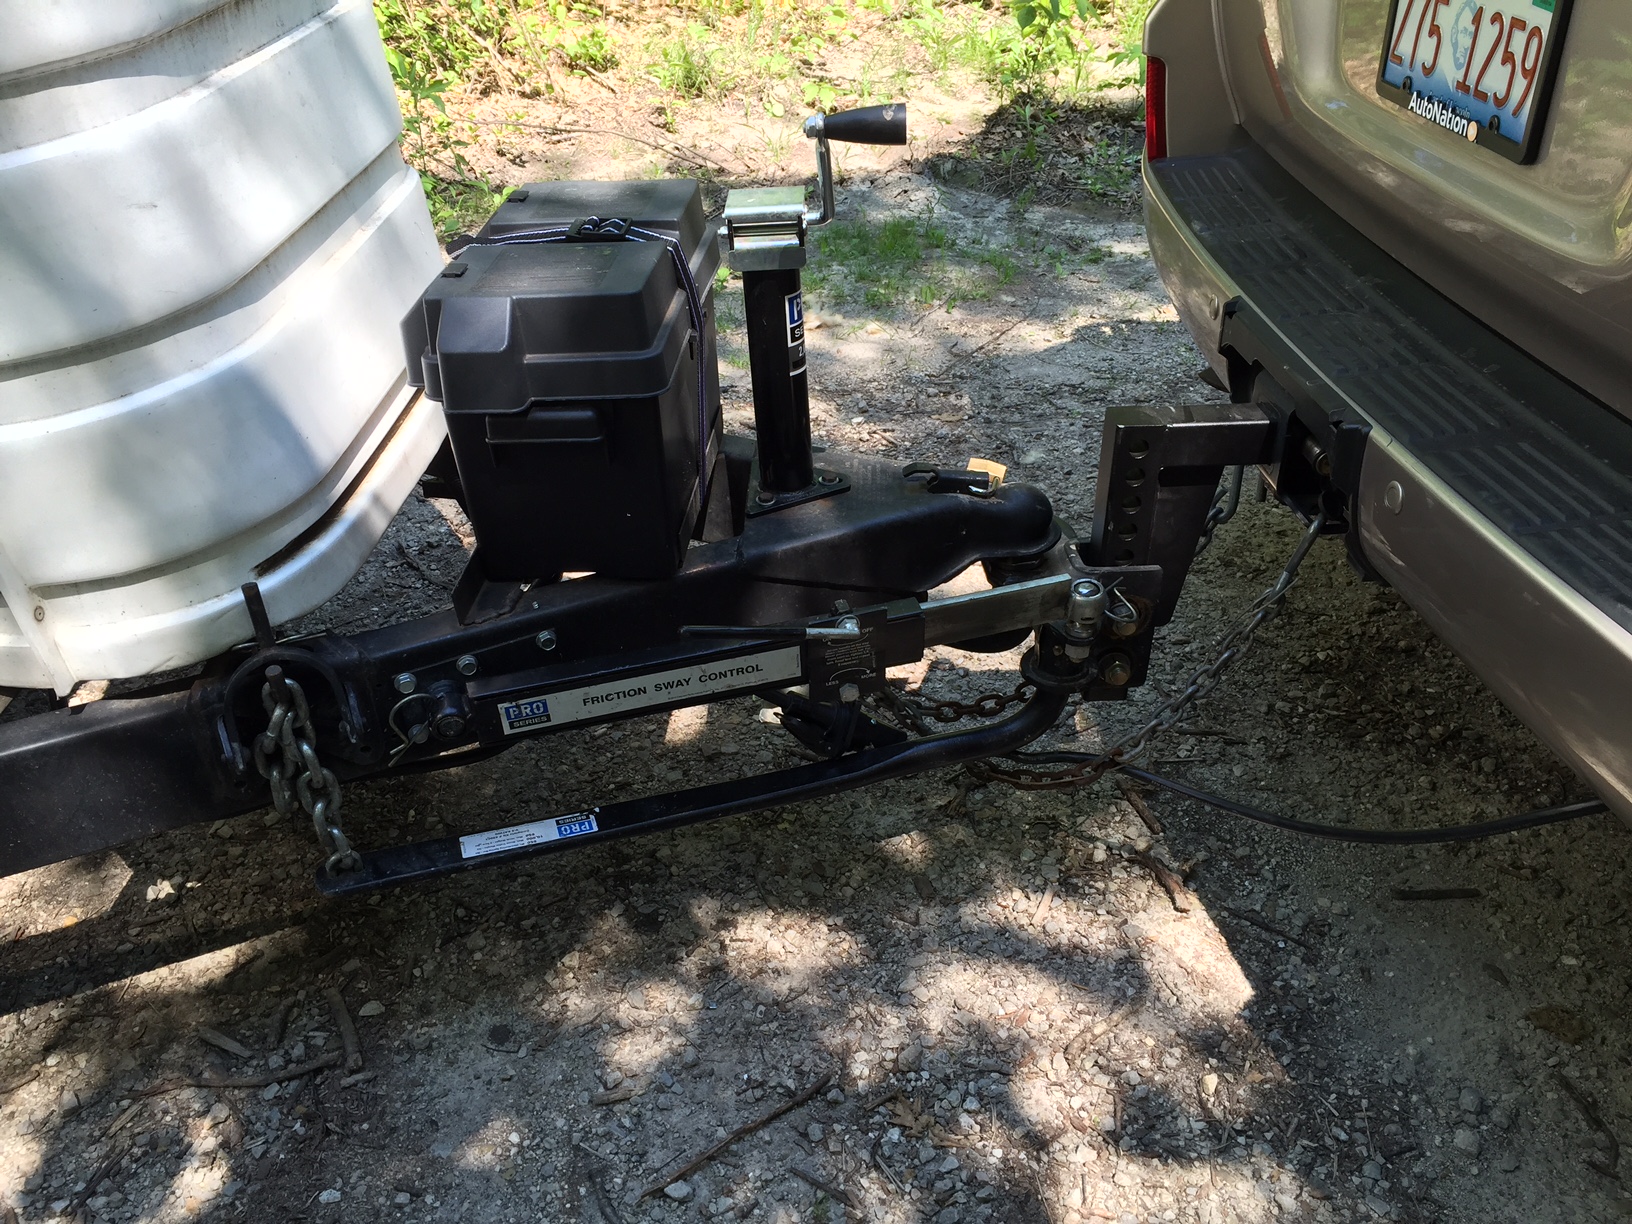
When I moved the Pro Series WD setup to the Land Cruiser, I discovered that the trailer was not level (nose-up by several inches). While most trailer hitches are level at 21-24″, the Surveyor frame sits about 6″ lower to the ground. Thus even at the lowest setting, the hitch ball was at least 4″ too high. When combined with less tongue weight (one empty 30# propane cylinder and no bicycles stored in front), the trailer felt squirrel-y on the highway whenever there was a gust of wind. To get the trailer level when towing, I ended up purchasing a taller weight distribution hitch bar (shank) from Amazon for $75, which allowed me to drop the height of the hitch ball several inches lower. For my setup, I purchased a Curt 17123 (which is actually 12.25″ tall) with the WD hitch mounted at the lowest setting makes the trailer almost perfectly level after my last modification.
Helper Air Bags
While the WD hitch does a solid job, I carry varying loads at times depending on whether we bring all 5 bicycles, how much propane is in the tanks, etc. I considered using a heavier duty WD setup, but the stiffer bars have a lower limit of 550 lbs which could present handling issues when running a lower tongue weight. In addition, it’s recommended that 8 to 15% of your trailer weight be located on the tongue, and with a 5,000 lb trailer I was concerned about shifting too much weight off the tongue and onto the front axle as trailer sway, especially as caused by tractor trailers at highway speed, can be a serious problem. Rather than change to stiffer WD bars, I realized I needed to do something to better support or strengthen the rear suspension. That left me with two options:
- Upgrade the rear springs from standard to heavy duty (340lbf/in) or more. While this would limit compression (and thus the rear end sag) when towing, the stiffer springs would almost certainly make the rear end quite bouncy when unloaded. As the majority of our non-towing driving is on city streets loaded with potholes, I was afraid any upgrade would completely ruin the ride of the vehicle.
- Install a set of helper air bags inside the springs and inflate them when towing. This has the benefit of allowing adjusting the stiffness depending on the situation by adding or removing air from the bags.
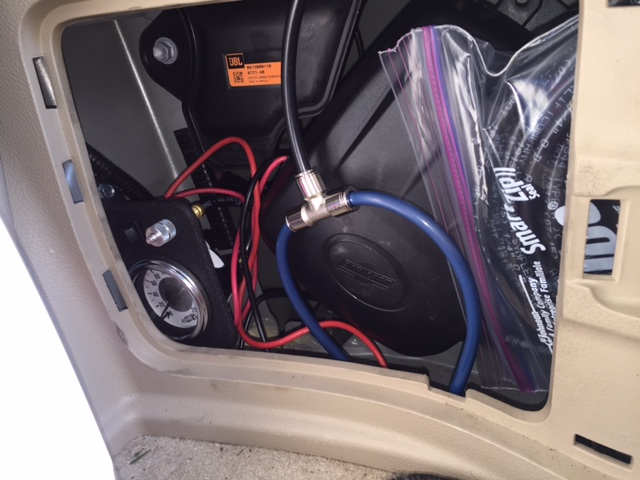
I ended up opting for the helper air bags and purchased a Firestone 4164 air bag kit and a standard duty Air Lift 25804 air compressor from Amazon for under $250 and documented the installation here. I’ll summarize that article with the following quote:
With 35psi in the bags, the Land Cruiser towed like a friggin’ champ. The ride was very smooth, and with the anti-sway bar installed I had no trouble running 70+mph on the highway. All in all I’m very pleased with the setup.
Sway Control
The Pro Series Weight Distribution Hitch I ordered comes with a friction anti-sway device (available separately for $40). It basically sandwiches a piece of metal between two other pieces which you compress by tightening a bolt on the device. If you’re towing anything more than a pop-up at 45mph or higher, you really want one of these. The device takes less than 60 seconds to install or remove, but does a great job of limiting swaying in crosswinds or when passing tractor trailers on the highway.
Braking
The Land Cruiser comes with a trailer brake controller port, but if you’re towing a trailer with a GVWR > 3,000lbs, you’ll need to order and install a controller and wiring adapter. I purchased a Tekonsha Primus IQ a few years back for the Acura, so I just needed to order the Tekonsha Toyota Wiring Harness. Installation took about 30 minutes by following the Trailer Brake Controller Connector discussion over at iH8mud. I mounted mine at the bottom of the dash on the left side – out of the way, but requires me to lean forward to adjust it. My biggest complaint with the Primus IQ is that I feel like I’m always fiddling with it to get the braking proportion just right, which sometimes leaves me locking up the rear tires at low speeds.
Gauges
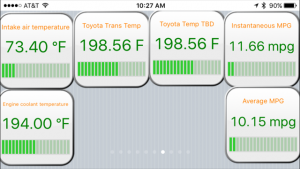
The last upgrade I made (and highly recommend) was to purchase an ELM327-compatible Wi-Fi OBDII reader ($15-20) and the EngineLink App for iOS ($6). When towing I insert the reader into the OBDII port and connect my iPhone to the CLKDevices WiFi name, then fire up EngineLink. Based on a number of other threads I read, I added two additional gauges in order to be able to monitor the automatic transmission pan and torque converter temperatures while towing:
- Toyota A/T Pan Temp. PID 2182. Formula ((((A*256+B)*(7/100)-400)/10). Range -40 to 300. Units are F.
- Toyota A/T TC Temp. PID 2182. Formula ((((C*256+D)*(7/100)-400)/10). Range -40 to 300. Units are F.
Transmission
Because the Land Cruiser is over-built, there’s no need to add a separate auxiliary transmission cooler. However, when towing you should always put the vehicle into “Sport” mode by pushing the shift lever to the left. The “Sport” (or manual shift) mode limits the vehicle to no higher than 4th gear unless you manually select 5 or 6. This is Toyota’s recommendation as well.
Based on my own monitoring of transmission temperatures, 4th gear (which is 1.000:1) minimized torque converter spin and significantly reduces heat. I wrote about my experience in this posting at iH8mud:
Limiting the vehicle to 4th gear I was cruising at 65-70 in mostly flat Illinois/Wisconsin (I-94) and ran around 2800RPMs +/-. I got ~10.5MPG at that speed (the instantaneous MPG reading from OBD2 was pretty steady between 10.2 and 10.8MPG). I tried running in 5th for a while but I found I had to lay into the gas pedal more to keep it at 65, so my gas mileage actually went down. Unless I was driving 55, using OD provided no MPG benefit.
I also watched the temps closely during the trip. Outside it was ~65F out. Intake temp was reading about ~90F (typical). My trailer was at the shop getting the bearings repacked so I drove about an hour to pick it up and then about an hour after I hitched up, thus I got some great comparison #’s:
- Without a trailer running in top gear (6th) the transmission pan temp reached 195F (+/- 1F degree), and the torque converter was anywhere from 195F (when fully locked) to about 208F (for instance when accelerating from 60-70). The higher TC temp didn’t affect the pan temp much. Once the TC locked up again at ~70MPH the temps would both stablilze around 195F again.
- With the trailer running in 4th gear the pan temp stayed around 196F (+/-1F). Both the TC and the pan temp would read the same when cruising at 65MPH. About 2/3 of the way through the trip I tried running in 5th gear (first OD). The TC temp would climb (at one point it hit 213F) and the pan slowly climbed up to about 202F over the span of about 5 minutes before I put it back in 4th. At that point the temps slowly dropped down to 195F again. Also, I definitely noticed the weight of the trailer a LOT more when towing in 5th than in 4th.
In short, don’t tow in overdrive – the gas mileage difference is small and OD generates heat in the transmission, especially if the ambient temps are warmer and/or you’re pulling through hilly terrain. Yes if you’re pulling a 2000# 4x5x8 uhaul trailer you can probably run in 5th or 6th without any damage, but if you’re pulling a smaller trailer running in your 1:1 gear (6th in your case) will have less impact on your MPG than it does for me, so the $ savings is minimal.
I had a second opportunity to confirm my temps this weekend when the outside ambient temperature was 86F and got nearly identical results. At 70mph on the highway the engine temp read 194F and both the pan and torque converter on the automatic transmission read 198.5F.
I understand the “A/T Temp” warning light will come on at 302F, though I hope to never confirm that.
Last Thoughts
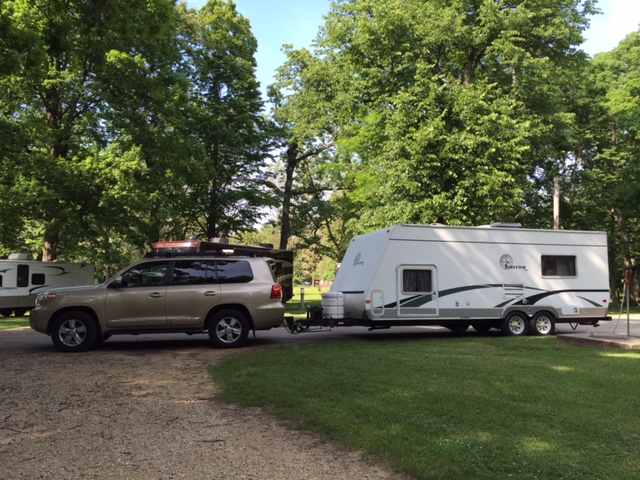
With the proper setup (weight distribution, anti-sway, and upgraded rear springs or helper air bags), the 200-series Land Cruiser has no trouble towing a 24′ travel trailer weighing 5,000 lbs. We don’t intend to upgrade our trailer, but if we did I wouldn’t hesitate to go up to ~26′ and 6,000 lbs. While you should always follow manufacturer recommendations, I felt very comfortable cruising at 70mph and am looking forward to taking a much longer trip to Mt. Rushmore later this summer. As I said in the air bag installation posting, the Land Cruiser towed like a friggin’ champ.